
Choose one area for lift and check it in profile. Start with placement or a small gathered section before adding products. If the top already looks full but the sides feel wide, adjust the sides instead of building still more height.
Locate the volume you want before choosing a method
Look from the side as well as the front. Height above the forehead, fullness at the crown and width through the lengths create different silhouettes. Sam Villa's crown-volume education uses a profile view to discuss shape; that view can help you identify which area you want to change. Hold a section gently higher and see whether that alone supplies the effect.
Keep the rest of the hairstyle in its ordinary position for the first comparison. If you move the part, curl the ends and lift the crown together, you cannot tell which adjustment mattered. Choose one starting method below and assess the whole outline before adding a second step.
Use part placement before adding products
A small shift in the part redistributes the hair at the front. Try moving the line a little and let the hair settle without holding it in position. You may like the new direction, or it may reveal that your familiar part is more comfortable. Keep the experiment modest so you can compare the shape without introducing a completely different hairstyle.
Also check where the lengths sit. Bringing all the hair over both shoulders can make the lower outline look heavy beside a modest crown. Place some behind the shoulders and compare again. This does not create physical volume at the roots, but it can change the visual balance enough that you no longer want as much lift. Styling placement is a useful first step because it is quick to reverse.
Give a small drying section a clear direction
If you normally use a dryer, concentrate on a manageable front or crown section rather than repeating a full salon routine. Follow the dryer and product instructions, keep the airflow moving and use a brush or your fingers in the way you can comfortably control. The aim is to direct a small area, not to keep heating it until it becomes much larger.
Let the section settle before judging it against the rest of the hair. If you have created a noticeably different finish at the top, soften the transition with your hands or choose a smaller section next time. Ask your stylist to demonstrate a targeted method on your own haircut if the direction remains difficult. A short technique you understand is more useful than a complicated blowout sequence you cannot reproduce.
Keep waves and curls in the conversation
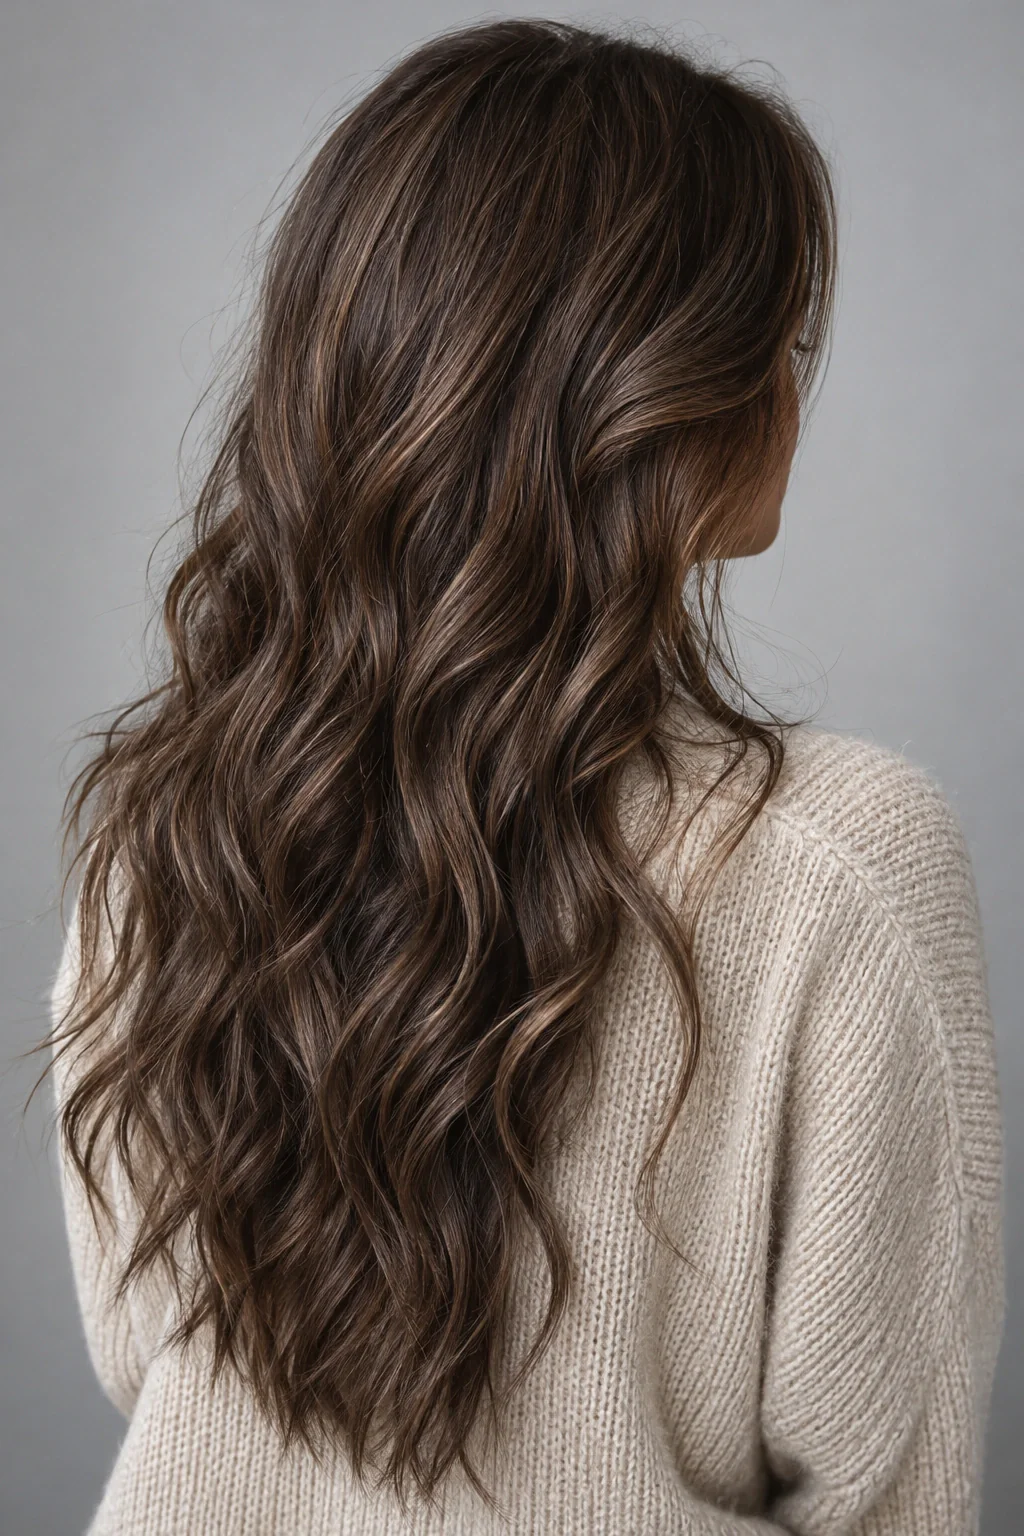
On wavy or curly hair, the volume you want may come from arranging the existing shape rather than brushing it into a smooth blowout. Once your usual style has settled, lift selected areas with your hands and look at the outline. Keep the curl groups you like and avoid separating every section at once. A small change near the roots can look different from expanding the ends.
Aveda's wavy-hair education includes heatless styling and second-day refreshing as separate options. Use that distinction to choose your route: enhancing a freshly styled wave is different from reviving yesterday's compressed section. Follow the routine that already works for your texture, then adjust the placement. There is no need to make a wavy or coily hairstyle imitate the surface of a round-brush blowout to count as softly voluminous.
Choose product by the job it needs to do
Read the product's directions and identify its intended role: root lift, light hold, texture or finishing. A product designed for damp hair may not be the right choice for a quick dry-hair adjustment. Start with an amount appropriate to the label and the section, then assess before adding more. Product names can sound similar even when the application steps differ.
Keep the first trial simple. If you add a foam, a root spray and a finishing powder together, you will not know which part gave you the result you liked. Use one familiar product for the specific task and record how the hair looked and felt. If the roots become coated or the lengths feel heavy, change the amount or placement next time instead of assuming you need a stronger formula.
Create lift with the structure of a hairstyle
A small half-up or a loosely gathered crown section can change the apparent height without styling all the loose lengths. Hold the section at different levels before fastening it. A low connection keeps the top quieter; a higher one can make the front feel more lifted. Leave enough hair loose beneath it so the lower outline does not become unexpectedly sparse.
A ponytail can also create a different profile simply through anchor position and the way the tail falls. Compare the shape with your shoulders visible in the mirror. Keep the surface comfortable rather than pulling it tightly in pursuit of lift. If the gathered structure is doing the job, you may not need extra styling at the roots. The result can be soft because the hair retains movement around the anchor.
Troubleshoot the shape rather than chasing size
If the top falls flat quickly, note when that happens. It may follow a hat, a commute or repeated touching. The practical solution could be a different finishing arrangement for that activity, not a longer styling routine. If the crown is lifted but the sides feel too wide, adjust those side sections instead of adding still more height.
If the result looks stiff, review both product amount and the area you worked on. You may prefer a smaller section with less hold, accepting a softer change over the day. If the hair looks uneven, check the part and how the lengths are distributed. These observations help you choose a repeatable result. Bigger is not automatically better when the original goal was a relaxed, balanced silhouette.
Keep a short routine with a clear fallback
Turn the successful experiment into a sequence you can repeat: set the part, direct one front section, place the lengths and stop. If you use a dryer, follow its instructions and the relevant product directions, focusing on the area you chose. Ask your stylist for a demonstration on your own haircut if that small section remains difficult to direct.
Judge the routine after the hair settles, not only while you are lifting it with a brush or hand. Does the shape still have the space you wanted? Does it feel comfortable, and can you leave it alone? If the effect depends on continual fluffing, reduce the goal or choose a structural option such as a small half-up. That may be more repeatable than adding several finishing products.
Keep a fallback that suits the same haircut. A side tuck can quiet a wide area, a low ponytail can regroup the lengths, and a crown clip can retain some height when the loose version falls flatter than you wanted. Note the method that works with your normal morning, including the days you wear a hat. Soft volume can be a choice you reach for when it fits, without turning a salon-sized finish into a daily requirement.
Define volume by its location and outline
Draw a quick outline of the shape you want around your head and shoulders. Mark where you would like more presence and where you would prefer less. Perhaps you want a little height at the top while keeping the sides quiet, or more width through the lower lengths without adding to the front. This exercise prevents volume from becoming a vague request for more hair everywhere. It also helps you identify whether placement, gathering or the visible arrangement of existing texture could answer the brief before introducing more steps.
Compare the sketch with a photograph of your ordinary style. Choose the smallest area where a change would make the outline feel closer to your intention. Try one familiar adjustment there and leave the other areas alone. View the result with the outfit you plan to wear, because a collar or shoulder detail may alter how the same volume reads. Keep a note of the location that mattered, so you can recreate the effect without rebuilding the entire hairstyle whenever you want a softer, fuller impression.
Choose a finish you still like after it settles
Photograph your proposed style immediately after arranging it and again after an ordinary period of wear. Focus on the area where you wanted volume rather than examining every strand. If the later shape is still appealing, use it as the reference for your everyday version. An arrangement does not need to retain its largest first outline to be successful. The useful question is whether the settled result provides the presence and movement you wanted within a routine you are willing to repeat.
If the preferred area becomes too flat for your taste, consider whether a different part or a modest gathered structure offers a more reliable version for you. If the whole style feels too large, reduce the scope of the experiment rather than abandoning volume entirely. Save both the visual preference and the amount of effort you accepted. This gives a future styling conversation more useful information than a request for a salon blowout effect without any of the steps that make a particular reference image look the way it does.
Your questions, considered.
Can I get volume without using a round brush?
You can explore part changes, targeted finger styling, your natural texture and gathered structures such as a small half-up. The result will differ from a salon blowout, but it may provide the lift or movement you wanted. Start by deciding where the change should appear.
Why does adding more product make my hair look flatter?
The amount or placement may not suit your hair or the job. Review the label and try a smaller, more targeted application next time. Avoid adding several products at once, because that makes it difficult to identify what is helping and what feels heavy.
Should I aim for volume at both the roots and ends?
Only if you like that full outline. A little crown lift with quieter ends can feel soft, while more width through waves creates a different effect. Compare the whole hairstyle in profile and with your outfit rather than treating maximum volume everywhere as the goal.
Sources & what they support
The notes below explain the scope of each source. Hairstyle selections, outfit combinations and comparison exercises are HairSparks’s editorial suggestions; the links do not imply endorsement.
- Sam Villa: Discussing volume at the crown ↗Professional context for looking at crown volume in profile and discussing the tools used at home. We do not adopt prescriptive rules about facial proportions.
- Aveda: Tips and tutorials for wavy hair ↗Professional examples of heatless wave styling and refreshing existing waves. Supports treating a new style and a next-day refresh as different tasks.
HairSparks and Hair Muse share the same publisher. App mentions are promotional. Read our editorial policy.