
Start by moving some length behind one shoulder. If it keeps falling forward, add a small temple anchor or half-up. Keep the front pieces you enjoy, and discuss a cut only if the placement you prefer takes more work than you want.
Match the crowded area to a placement change
Put on a top you wear often and look at the upper-body outline. Hair may collect in two broad panels over the chest, hide a collar, or merge with a thick scarf at the shoulders. Those are different visual situations. Point to the crowded area before changing the rest of the hairstyle; you may only need to redirect part of the length.
Separate the appearance of fullness from physical weight. A tuck or half-up moves where hair is visible but does not remove it. If a gathered style feels heavy or uncomfortable, change the fastening or discuss the issue with a stylist. For a different visual outline, use one of these reversible starting points.
Move some of the length behind the shoulders
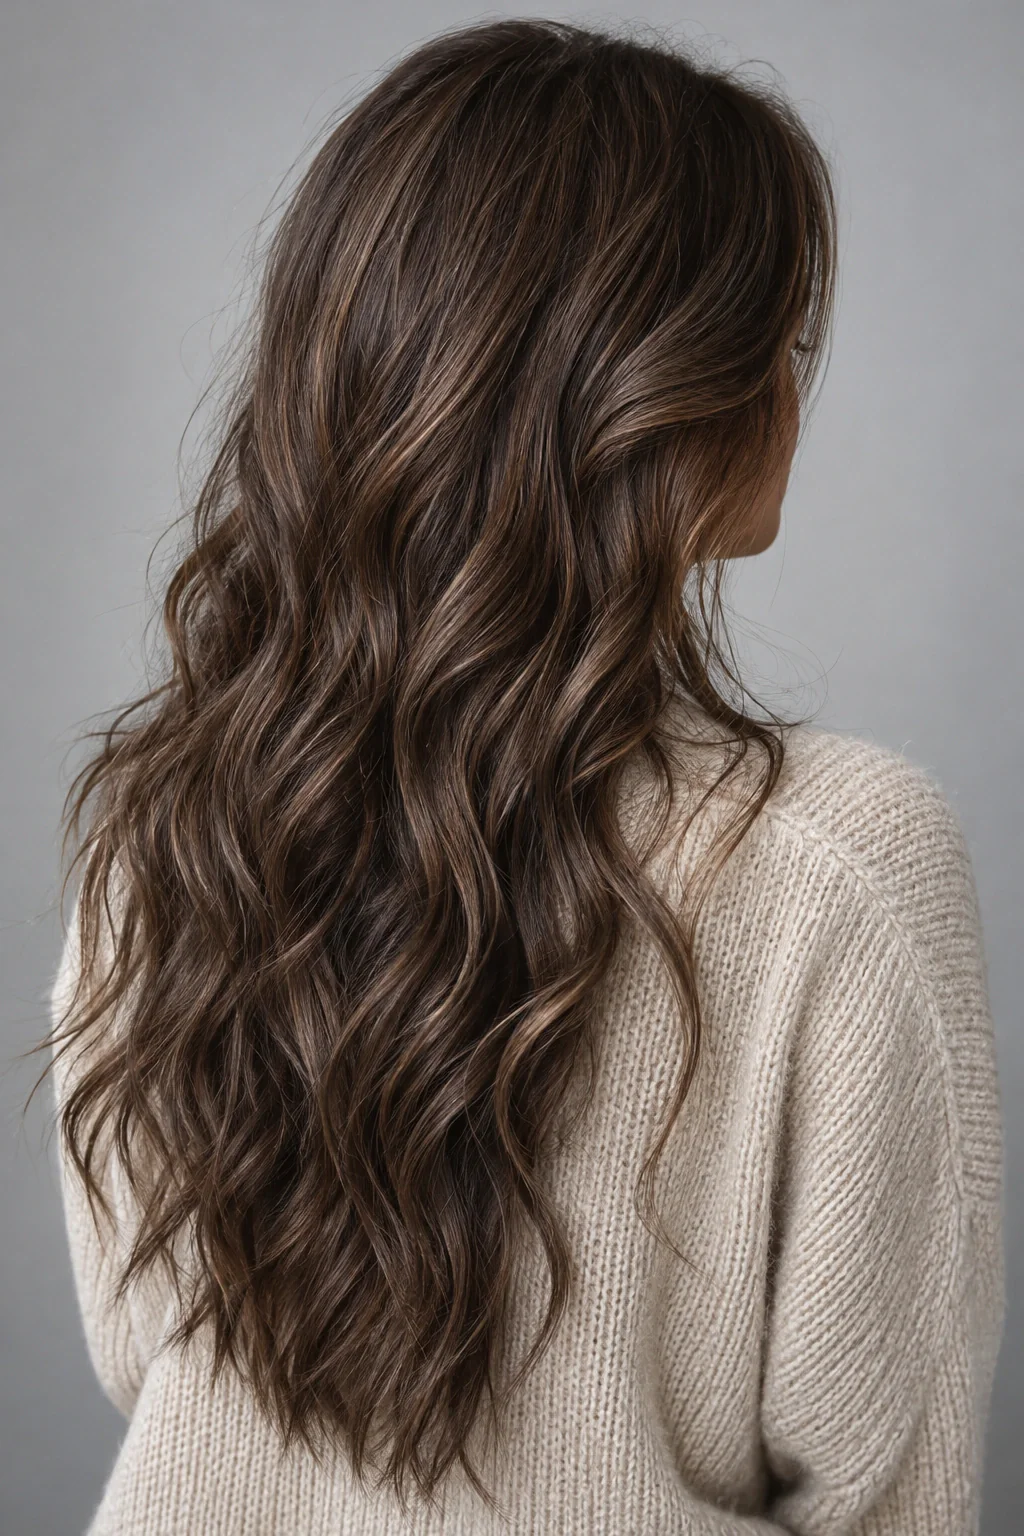
Bring all the hair forward, then move roughly half behind one shoulder and compare. Next, place most of it behind both shoulders while leaving a modest front section. These simple arrangements reveal different parts of the garment and create different edges around the face. You may prefer an asymmetric version because it shows the length without making matching panels on both sides.
Notice whether the hair stays in the chosen position when you move. If it continually falls forward, anchor a small temple section or use a loose half-up to support the direction. You do not need to fasten the entire length to keep the front view open. A small structural change can help the distribution feel deliberate while the lower hair remains loose and mobile.
Use a half-up to separate the upper and lower shapes
Gather a narrow section at the temples and hold it behind the crown. Look at the remaining loose hair before fastening. The goal is to open the front without making the lower portion look unexpectedly sparse. Adjust the width of the section until you like the relationship between the gathered top and the loose lengths.
A small clip or tie can create a clear connection while the long hair falls underneath. Keep the anchor comfortable and choose a height that works with your profile. If a large top knot makes the shape feel busier, try a flat twist or simple connection instead. ghd's pinned-back tutorial demonstrates loose lengths with secured temple sections; the basic structure can be adapted without copying the tutorial's complete waved finish.
Give the front a different job from the ends
The front can frame the face while the ends show length. You do not need the same amount of hair doing both jobs. Leave a deliberate face-framing section and move the heavier lower lengths behind a shoulder. If you have layers, identify which pieces naturally sit around the face and avoid pulling additional long sections forward simply out of habit.
With a fringe, consider whether the surrounding side sections need to be equally prominent. A clear fringe plus an open temple can feel different from a fringe enclosed by two full panels. Try the small change first. These are visual options, not instructions to hide or correct a face shape. Choose the amount of framing that feels comfortable and relates to how you want the whole hairstyle to move.
Make existing texture visible in selected places
Long waves or curls can merge into a broad outline when all the groups lie together. Arrange a few sections with your hands so their movement is visible at different points. You may want one wave near the shoulder and quieter lengths below, or fuller curl groups at the sides with some hair placed behind. Work with the pattern that already exists before choosing a new texture.
For straight hair, direction at the ends can also change the line, but you do not need to curl the whole head to explore that. Try arranging the lengths into one smooth fall or separating them over one shoulder. If you later use a heated tool, follow its instructions and preparation requirements. The first question is the shape you want, not which tool can create the most obvious change.
Use gathered styles that show length selectively
A low ponytail displays length in one place rather than across the entire front. A loose braid creates a more contained line, while a half-up keeps both the open face and the falling back. Choose according to the feature you want visible. If you enjoy seeing the length over a shoulder, a side-positioned tail may give you that view without two large front panels.
Consider the weight of the gathered hair and the support of the fastening. A high anchor may feel different from a low one over several hours. Try the style during an ordinary day before using it for an occasion. If you keep adjusting it, change the location or choose a partial arrangement. A lighter-looking outline is only useful when the structure is comfortable enough to wear.
Read the outline alongside your clothes
A high collar, thick scarf or layered jacket can make long hair look more crowded around the shoulders. Try placing the hair outside the collar in one clear direction or gathering it away from that area. With a simple open neckline, you may like more length in front. The same hairstyle can feel quite different depending on the amount of fabric beside it.
Use a full upper-body mirror view and move your arms as you normally would. Hair may slide under a bag strap or collect at a shoulder seam. Adjust its placement with those details in mind. You are styling a person in clothes, not a head floating on a blank background. The practical relationship between hair and garment often explains why an outline feels heavier on one day than another.
Explain “less heavy” without accidentally asking for less length
If you want a haircut discussion after the styling trials, bring photographs that show what helped. Explain whether you liked an open collar, a smaller front section or more visible separation through the ends. The phrase less heavy can mean physical weight, visual width or a shape that takes too much effort to style. Naming the meaning helps the stylist understand which problem you want addressed.
State the length you want to preserve and the functions it serves. You may need a low ponytail, want the ends over a shoulder, or enjoy the full lower edge when the hair is down. Ask how a proposed change would affect those options. A layered photograph alone does not tell you how the cut would behave in your own texture or when gathered.
Also show the cost of the temporary version. Perhaps the half-up looks right but takes too many clips, or the shoulder placement will not stay where you want it. Those are concrete reasons to explore a change, while a simple tuck you enjoy may remove the need for one. Ask for the everyday finish as well as the styled finish to be explained. Keeping long hair is compatible with changing its shape, but the tradeoffs should be clear before the service begins.
Compare distribution before considering less length
Take a photograph of your usual loose hair over both shoulders, then move most of the length behind one shoulder and take another. Keep the part and texture similar. Notice whether the lighter-looking outline you wanted comes from the amount of hair visible at the front rather than the total length. This is a useful distinction when you enjoy having long hair but sometimes dislike how it fills the space around a neckline. Placement may offer a solution for that outfit without settling a broader haircut decision.
Try a small upper gathering as a third version and compare all three with the same clothing. Name what changed: more visible collar, less width near the chest or a clearer separation between the front and back. If none addresses the concern, record that observation for a consultation. The exercise does not promise that styling can replace a cut. It helps you explain whether the issue appears in certain arrangements or persists across the ways you normally wear your length.
Give the lower lengths a deliberate role
When styling long hair, decide whether the ends should create a continuous line, appear in a smaller loose section or remain mostly behind the shoulders. This choice can make an arrangement feel more organized without requiring every part to have equal volume or visibility. For an outfit with a strong neckline, you might keep the front clear and let the length remain a back-view feature. With a simple top, you may prefer the long line over one shoulder as the main visual detail.
Photograph the chosen arrangement while standing and sitting, because the distribution can change when the hair meets the garment or chair. If the lengths repeatedly return to a position you dislike, consider a modest gathering that supports the intended placement. Keep the fastening accessible and the front comfortable. Save the version with a note about the outfit it serves. Over time, you can build several ways of distributing the same length, which makes the hairstyle feel more flexible without treating long hair itself as a problem to minimize.
Your questions, considered.
Do I need layers if my long hair looks heavy?
Not necessarily. First compare different placement, a smaller front section or a half-up. If those changes help but require more work than you want, discuss the observations with a stylist. Layers are a cutting decision that should consider texture, density and how you wear your hair.
Can I keep my hair long and show my neckline?
Yes. Move the lengths behind the shoulders, gather them into one tail or secure the front in a small half-up. Choose how much hair remains visible in front. A partial arrangement may reveal the garment without hiding all the length.
Why does my hair look heavier with some outfits?
The surrounding collar, scarf, shoulder shape and fabric create a different visual frame. Hair may also collect or become trapped around those details. Try the hairstyle with the garment on and adjust where the lengths sit before deciding the hair itself needs a larger change.
Sources & what they support
The notes below explain the scope of each source. Hairstyle selections, outfit combinations and comparison exercises are HairSparks’s editorial suggestions; the links do not imply endorsement.
- ghd: Pinned Back Glamour ↗Technique example using twisted and pinned temple sections while leaving other lengths loose. Our length adaptations and outfit pairings are editorial suggestions.
HairSparks and Hair Muse share the same publisher. App mentions are promotional. Read our editorial policy.