
Choose the amount of hair you want around the face and neckline first. Keep a familiar cut for a single event unless you also want the change afterward. Rehearse the final style with the garment and real accessories before treating it as the plan.
Choose the event shape before the decorative finish
Start with three broad options: loose hair, a half-up and hair gathered away from the neck. Each solves a different styling problem. Loose hair keeps length and movement visible. A half-up holds the front while leaving the back loose. A low ponytail or bun can reveal a neckline or back detail. A short bob can create a similar opening with one tucked or pinned side.
Choose your first option from the garment and the event schedule. For a seated dinner, a small front anchor may be enough. For a long outdoor ceremony followed by dancing, plan a shape you can gather more fully later. These are starting suggestions; the fit still depends on your length, texture and preferred amount of loose hair.
Bring the outfit into the comparison
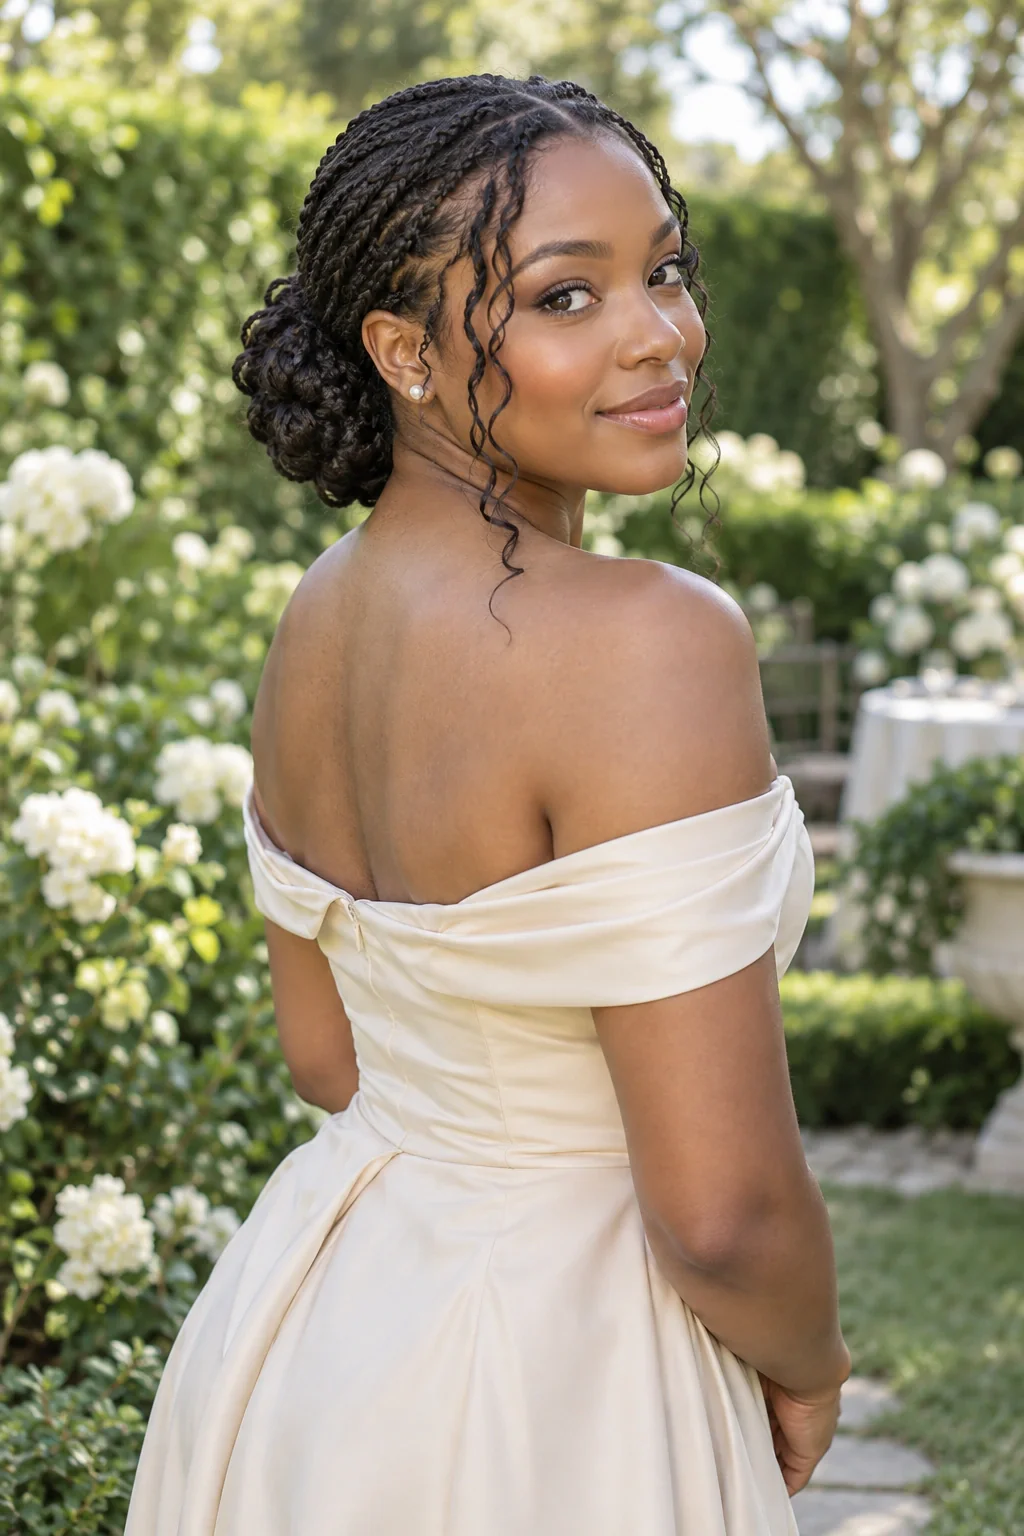
Look at the hair idea beside a photograph of the actual outfit or a clear view of its neckline. A hairstyle changes what remains visible around the face, neck, and shoulders. You may enjoy showing a collar detail, giving earrings more space, or leaving hair around a simple neckline. These are preferences to explore rather than matching rules you need to obey.
Avoid judging the hairstyle only in a tightly cropped selfie if the outfit relationship is central to your decision. A broader photograph or a simple side-by-side layout may provide more useful context.
Explore a small number of silhouettes
Choose a few genuinely different directions, such as hair mostly down, partly gathered, or arranged away from the neck. Decide which broad relationship you prefer before comparing small decorative details. Otherwise, it is easy to spend time choosing between similar images while leaving the more important question unresolved: how much hair you want around the face and shoulders throughout the event.
For each direction, note what attracts you and what needs a real-world check. You might like the open neckline but wonder about comfort, or enjoy a loose front but worry about repeatedly moving it from your eyes. A preview can make those questions visible. Keep the shortlist small enough that you can explain each option clearly to the person who will help you create the actual style.
Keep the accessory decision physical
If you plan to wear a comb, clip, headpiece, scarf, or other accessory, inspect the real item with your hair. Bring the accessory to a rehearsal when possible and check it from the front, sides, and back. A detail may be visible in one view and hidden in another.
Try the full combination with earrings and glasses if you will wear them. Move your head and put on any outer layer you expect to use. Check that you can remove or adjust items without dismantling the hairstyle. These small practical tests often reveal more than another round of previews. If the accessory dominates the look in a way you dislike, changing its position or choosing a simpler hairstyle may solve the problem without changing the entire event concept.
Rehearse the actual arrangement
A rehearsal is where the imagined hairstyle becomes a real plan. Use your own hair, intended accessories, and a realistic amount of preparation time. If a professional is creating the look, explain what you liked in the preview and invite adaptation. The objective is to preserve the mood while finding an arrangement that works with your length, texture, and comfort.
Wear the trial for a while rather than photographing it immediately and stopping there. Sit, walk, look down, and make the movements you expect during the event. Note anything that pulls, slips, or requires continual adjustment. An uncomfortable arrangement is a reason to revise the plan. Keep your feedback specific: “This section falls forward when I look down” gives more useful information than deciding the entire hairstyle was a failure.
Make the timing and fallback explicit
Work backward from the time you need to leave or be ready. Include dressing, travel, and any accessory placement that must happen after the main hairstyle is finished. Ask your stylist for an appointment plan appropriate to the agreed look rather than estimating from an online tutorial. If you are styling yourself, rehearse with the tools you will actually have available.
Choose a fallback you like and can create without starting over. It may be a simpler gather, a different front placement, or removing an accessory that becomes uncomfortable. Pack only the items needed for that adjustment. A backup should reduce the number of decisions you face during the event, not become another elaborate look to manage. Knowing how to adapt can make the main style easier to enjoy because every small change does not feel like an emergency.
Turn the trial into an event-day instruction card
Once you like the trial, make a short record that someone could follow without seeing the original inspiration. Include the part, the fastening position and which pieces remain loose. For example: soft side part, low ponytail clear of the collar, two front pieces ending above the earrings. Add a front and rear photograph of the trial on your own hair.
Record the order of dressing. A pull-over garment may need to go on before the hairstyle; a front-opening layer can make that sequence simpler. Note when the earrings and hair ornament are added, who places them, and whether either will be removed later. If a stylist is involved, ask them to confirm the preparation and appointment timing for the agreed design.
Finish the card with the fallback you rehearsed. That could be removing a comb while keeping the bun, gathering loose lengths into a low tie, or replacing a heavy barrette with two plain clips. Pack those exact items. On the day, use the trial photographs to repeat the placement instead of comparing new inspiration. A later image only deserves a change of plan if you can explain what problem it solves and check that the adjustment still fits the available preparation time.
Turn the event schedule into a preview question
Start with a specific moment from the event rather than a broad request for occasion hair. You might want to see whether a more open neckline supports a high-collared outfit, or whether a shorter-looking outline changes the balance of a large shoulder detail. Write that question beside the outfit photograph before exploring alternatives. A focused question makes it easier to compare a few broad directions and keeps the preview from becoming an endless gallery of attractive styles with no clear relationship to what you will wear.
After choosing a direction, list the fastening, accessory comfort, interaction with the garment and changes during movement. Bring those into a real rehearsal. If the preview suggests a lifted outline, the rehearsal should test an arrangement you can actually create with your length and the help available. The visual idea and the practical method are separate steps.
Make a handoff image for the person helping you
Choose one preview and add a short caption describing the intended silhouette, the front detail and the outfit feature that should remain visible. Include a current photograph of your hair and, if relevant, the actual accessory.
Ask the helper or stylist to describe a feasible version in their own words. Compare that description with your original event question and adjust the plan where necessary. Save the agreed version with the getting-ready schedule, including who provides the accessories and when the final arrangement happens. Once that handoff is clear, stop replacing the image with new alternatives unless the outfit or schedule changes. A stable, understandable brief is more useful close to the event than a fresh set of possibilities that nobody has had time to rehearse.
Your questions, considered.
Should I make a major haircut change just for an event?
Consider whether you want the cut in ordinary life as well. If your interest is mainly the event silhouette, explore styling options first and discuss timing and maintenance with a stylist before choosing a lasting change.
What should I bring to an event hair appointment?
Bring the agreed references, a clear outfit image, the actual accessories, and notes about timing and comfort. Explain which specific feature you want the stylist to use as inspiration.
How many hairstyle directions should I compare for one event?
Begin with three different silhouettes: hair down with an open front, a small half-up gathering, and a low tied-back style. Keep the outfit and accessory the same for each comparison, then choose the arrangement whose neckline and front you prefer.
Sources & what they support
The notes below explain the scope of each source. Hairstyle selections, outfit combinations and comparison exercises are HairSparks’s editorial suggestions; the links do not imply endorsement.
- L’Oréal Professionnel: preparing for a hair consultation ↗Consultation context: bringing pictures, explaining styling habits and discussing maintenance with a professional. It supports the consultation advice, not our aesthetic judgments about individual looks.
HairSparks and Hair Muse share the same publisher. App mentions are promotional. Read our editorial policy.