
Start with one pinned tuck; add a second anchor only if the other side also falls forward. For short layers, place clips closer to the temples. For curls, move the offending curl group together and leave the surrounding texture loose.
Match the front section to the smallest workable anchor
Lean forward as you would over a laptop and notice what crosses your eyes. A long fringe may need one side clip, while both front corners of a bob may need separate anchors. Pick up the moving section and guide it back with your fingers. Keep the rest loose so you can see how little hair needs fastening.
Choose the anchor by the section's reach, not a perfectly symmetrical division. If the end only barely touches a clip at the back, bring the fastening closer to the temple. A style that works at your normal head position is more practical than a sweep that stays together only while you tilt your head.
Make an ear tuck more deliberate
An ear tuck is a good starting point when the front lengths already reach behind the ear comfortably. Follow the natural curve of the head instead of pulling the hair diagonally downwards. Leave the hair above the tuck slightly soft if you prefer volume. For a cleaner outline, guide that surface with your fingertips. Both versions can show an earring without requiring a different haircut.
If the tuck falls out, place a small clip behind rather than directly on top of the ear, catching a modest amount of the tucked section and some resting hair beneath. Check that it does not touch the arm of your glasses. Do not keep sliding the clip farther in to force a hold. Reopen it, take a smaller section, and choose a comfortable spot with enough hair to support it.
Use two tiny twists as a loose-hair frame
Take a front section beside your part and turn it gently backwards until it reaches a comfortable pinning point above or behind the ear. Let the twist follow the head rather than stretching it straight across. Secure it, then repeat on the opposite side only if that side also needs control. The remainder can stay straight, wavy, curly or coily; the twist is simply a small anchor.
ghd's pinned-back tutorial also uses temple twists with loose lengths. For an everyday version, leave elaborate wave preparation out of the plan and work with the texture already present. If the twist becomes a thin cord that feels taut, release it and use fewer turns. A slightly wider, softer section often looks more integrated than a tightly rolled strand sitting on top of the rest of the hair.
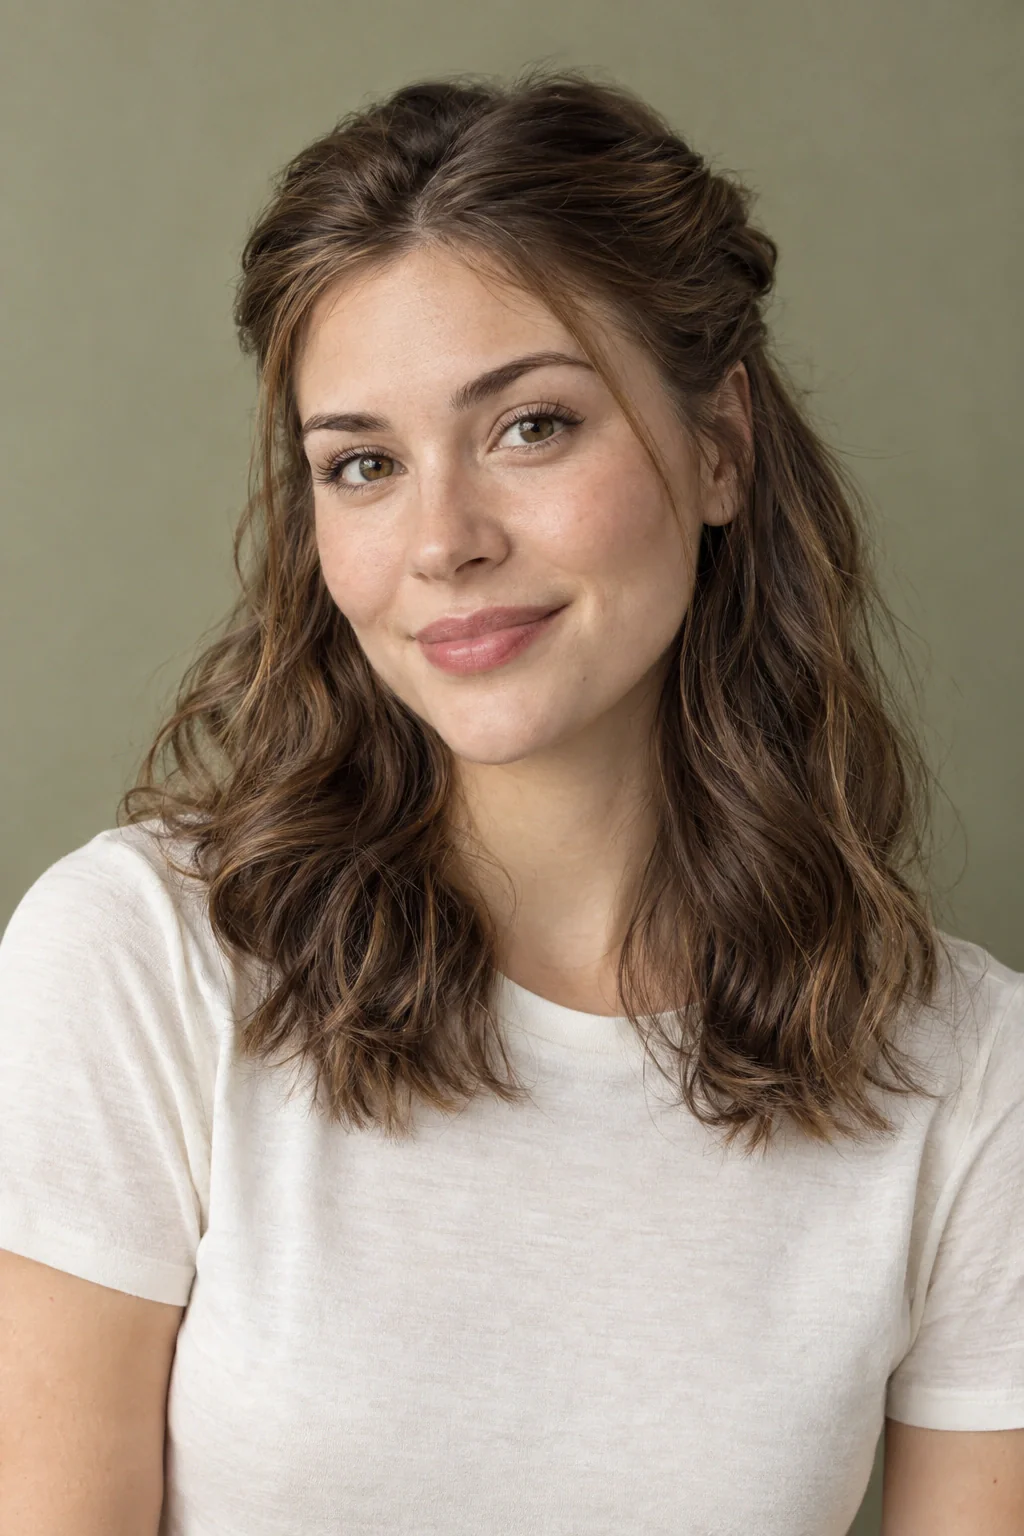
Let clips become part of the look
A visible clip can do two jobs: hold the front section and give the hairstyle a clear finishing detail. Choose one shape you enjoy, then place it where it supports the hair rather than where a product photograph positions it. A slim barrette above the ear creates a quiet line. Two small clips near the temples can feel playful. A single larger accent produces a more graphic result.
Match the fastening to the amount of hair you are gathering. A large decorative barrette may look appealing but slide on a very small section; a tiny snap clip may not close around a dense curl group. Open and close the accessory before using it so you know how it works. Once fitted, lightly move the held section. If the ornament wobbles separately, change the section or select a lighter piece.
Keep natural texture around the anchor
When waves or curls are already defined, gather them in their existing groups rather than combing through them just to create a perfectly flat section. You can leave a curl beside the cheek while securing the one that crosses the eye. That makes the placement feel intentional without requiring every hair at the front to follow exactly the same direction.
For coily hair, try shaping the area above the temple with your hands and fastening only the part that comfortably reaches. A small side sweep may offer all the openness you want. If a clip would need to pull a section substantially straighter, choose a different location or accessory. The goal is a manageable front view, so preserving a comfortable texture and shape is more useful than copying the distance between pins in someone else's photograph.
Adapt the idea to bangs and shorter layers
A fringe does not always need to disappear completely. Divide it loosely where it wants to separate and hold only the outer pieces towards the sides. A short central portion can remain on the forehead while the eye area feels clearer. On days when you want the whole fringe away, a soft headband or a row of suitable small clips may be simpler than trying to hide every end.
Short layers can create a useful textured edge around a fastening. Instead of repeatedly pushing the ends back in, decide whether you like that edge. If you do, place the clip a little farther forward so the short pieces look deliberate. If you prefer a continuous sweep, use separate anchors for separate lengths. One clip does not have to collect every front strand for the hairstyle to read as finished.
Plan for glasses, work and movement
Put on your glasses or headphones before making a final adjustment. Hair and accessories share the same small area around the ear, so a comfortable arrangement in the mirror may feel crowded once you start working. Keep the clips away from pressure points and leave enough room to remove your glasses without dragging the secured section forward.
Try the movements that usually interrupt your loose style: looking down at a keyboard, putting on a jacket, or turning to speak to someone. If one section comes loose, fix that specific anchor instead of tightening the entire front. For a windy walk, carry a tie so the loose lengths can become a low ponytail temporarily. This keeps the indoor hairstyle flexible while giving you a simple change for the journey.
Fix the slipping point without gathering more hair
When the front comes loose, watch where the movement begins. A clip that slides down may be holding mostly tips. A tuck that springs out may need a nearer fastening point. A twist that unwinds may need a different section size or clip. Diagnose that local movement before collecting more of the loose hair into the style.
For a slipping barrette, reopen it and take a section that matches its capacity, including enough resting hair beneath the moving piece to support the hold. If the accessory is heavy and the section is tiny, switch to a lighter clip. If glasses knock the fastening forward, move it above or behind the arm without creating pressure. Adding a second clip in the same crowded spot may make the problem worse.
Finish with the activity that usually defeats the style: look down to read, pull on a cardigan, or turn towards a colleague. If the front stays clear and the back still looks loose, stop there. Keep the successful clip with the items you use each morning and note its position. For longer outdoor journeys, carry a tie for the lengths; that separate option does not require turning your indoor loose hairstyle into a permanent full updo.
Make the front section solve one real task
Choose a task during which loose hair usually becomes distracting, such as reading, cooking or working at a laptop. Begin with your usual down style and perform that task briefly. Identify the exact section you keep moving and the direction in which it falls. Then secure only that section and repeat the task. This turns the styling decision into a small experiment: you are testing whether one anchor can provide the freedom you want while preserving the loose outline you enjoy through the rest of the hair.
If the same section escapes, check whether a different fastening point works with its reach. If another section becomes the problem, decide whether a slightly wider gathering would still preserve the look. Avoid continually adding clips without reassessing the overall shape. There may be a simpler half-up version that gives the same loose impression with fewer separate anchors. Keep a note of the task and the arrangement that worked, because a useful everyday style is defined partly by what it allows you to do comfortably.
Create a release plan for the end of the day
A face-clearing arrangement should also be easy to undo. Before adopting it as a regular style, practice removing each fastening without pulling the surrounding loose hair into the mechanism. Notice whether the order matters, especially when two clips overlap or a twist sits beneath another section. If removal becomes fiddly, simplify the arrangement or choose a more accessible placement. This is particularly useful for styles you make quickly in the morning and take down when you are tired or away from a large mirror.
Record the minimum version of the style in a few actions: gather this section, place this clip, leave these lengths loose. Add a note about which piece comes out first. Keep the accessories together so the routine is easy to repeat. After a few wears, review whether every anchor is still necessary. You may find that one clip was compensating for an earlier placement choice and can be removed. The aim is dependable front clearance with the least structure needed to support your preferred loose shape.
Your questions, considered.
Can I wear my hair down without using heat?
Yes. The front can be held with a tuck, twist, clip or headband while the rest keeps its existing texture. Start with the hair as it is and solve the section that falls into your eyes. Heat styling is an optional finishing choice, not a requirement for these arrangements.
Why does a clip slide even when it feels tight?
The clip may be holding too little hair, too much hair, or only the loose tips rather than a stable section. Reposition it and check its capacity before adding more tension. If it still moves, try a lighter or differently shaped accessory that fits the section more comfortably.
Should both sides be pinned identically?
Only if you like the symmetry. A side part or shorter layer may need a different approach on each side. One open ear and one soft side can look intentional. Judge the full outline and comfort rather than using matching measurements as the main goal.
Sources & what they support
The notes below explain the scope of each source. Hairstyle selections, outfit combinations and comparison exercises are HairSparks’s editorial suggestions; the links do not imply endorsement.
- ghd: Pinned Back Glamour ↗Technique example using twisted and pinned temple sections while leaving other lengths loose. Our length adaptations and outfit pairings are editorial suggestions.
HairSparks and Hair Muse share the same publisher. App mentions are promotional. Read our editorial policy.