
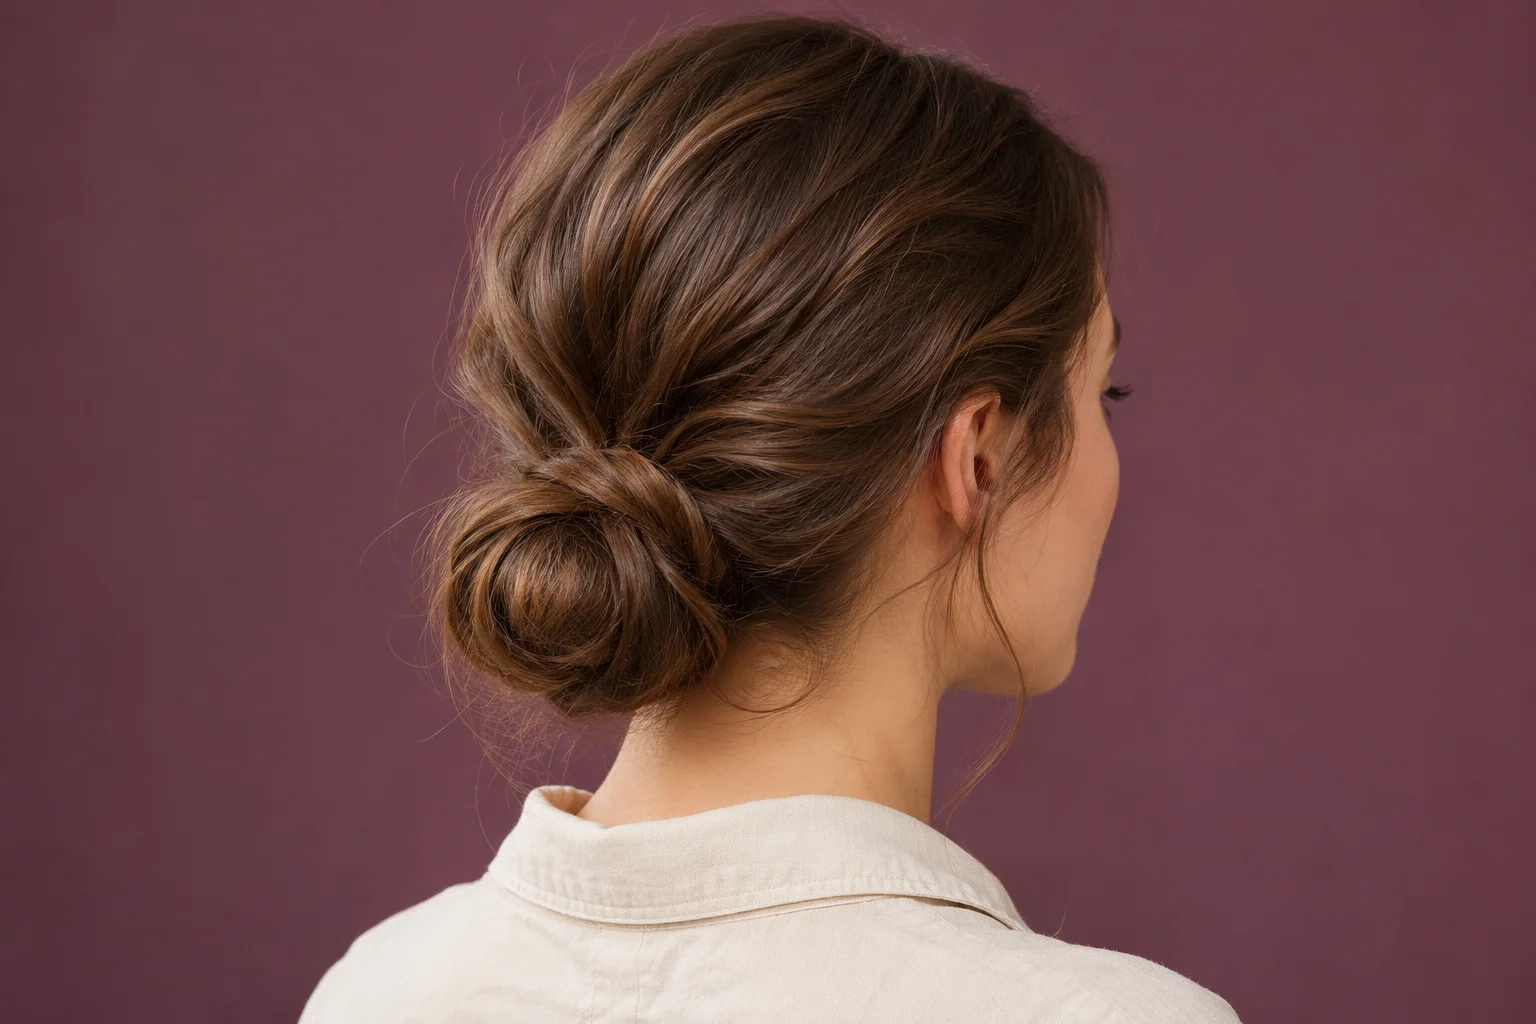
When hairpins keep slipping, rebuild the small point that is meant to hold the bun instead of pushing more pins into its soft outer surface. Support the shape with one hand, identify the section that has come loose and check whether your pin joins that section to hair that stays in place. A closed bobby pin can grip a small fold; an open U-shaped hairpin works differently, passing through part of the bun and into its supporting hair. Choose the fastening before trying to hide it.
This guide is for a relaxed everyday bun that you can comfortably remake yourself. Begin with the pins you already own, a mirror that shows the back and enough time to practise one placement without rushing. You will separate a slipping anchor from loose decorative strands, try a small reset and check the result while sitting and turning. The aim is a repeatable arrangement you can release easily, with the fullness you like still visible around it.
When hairpins keep slipping, locate the moving part
Hold the bun lightly and look at what moves when you let your supporting hand relax. Does the entire shape drop, does one loop unfold, or does only a short end escape? These problems need different adjustments. A falling bun needs its support reconsidered. A loose loop may need one better connection. A short end that does not reach the anchor may be more comfortable left soft or fastened separately with a small closed pin.
Start with an ordinary turn of the head rather than shaking the style hard. Then sit in the chair you usually use and look down. Note the first area that changes. If the bun presses into a collar or chair back, its position may be contributing to the movement. Move it a little clear of that contact before blaming the pin. Keep this first check brief so that you are examining the arrangement, not gradually tightening everything while you watch.
Give closed pins and open hairpins different jobs
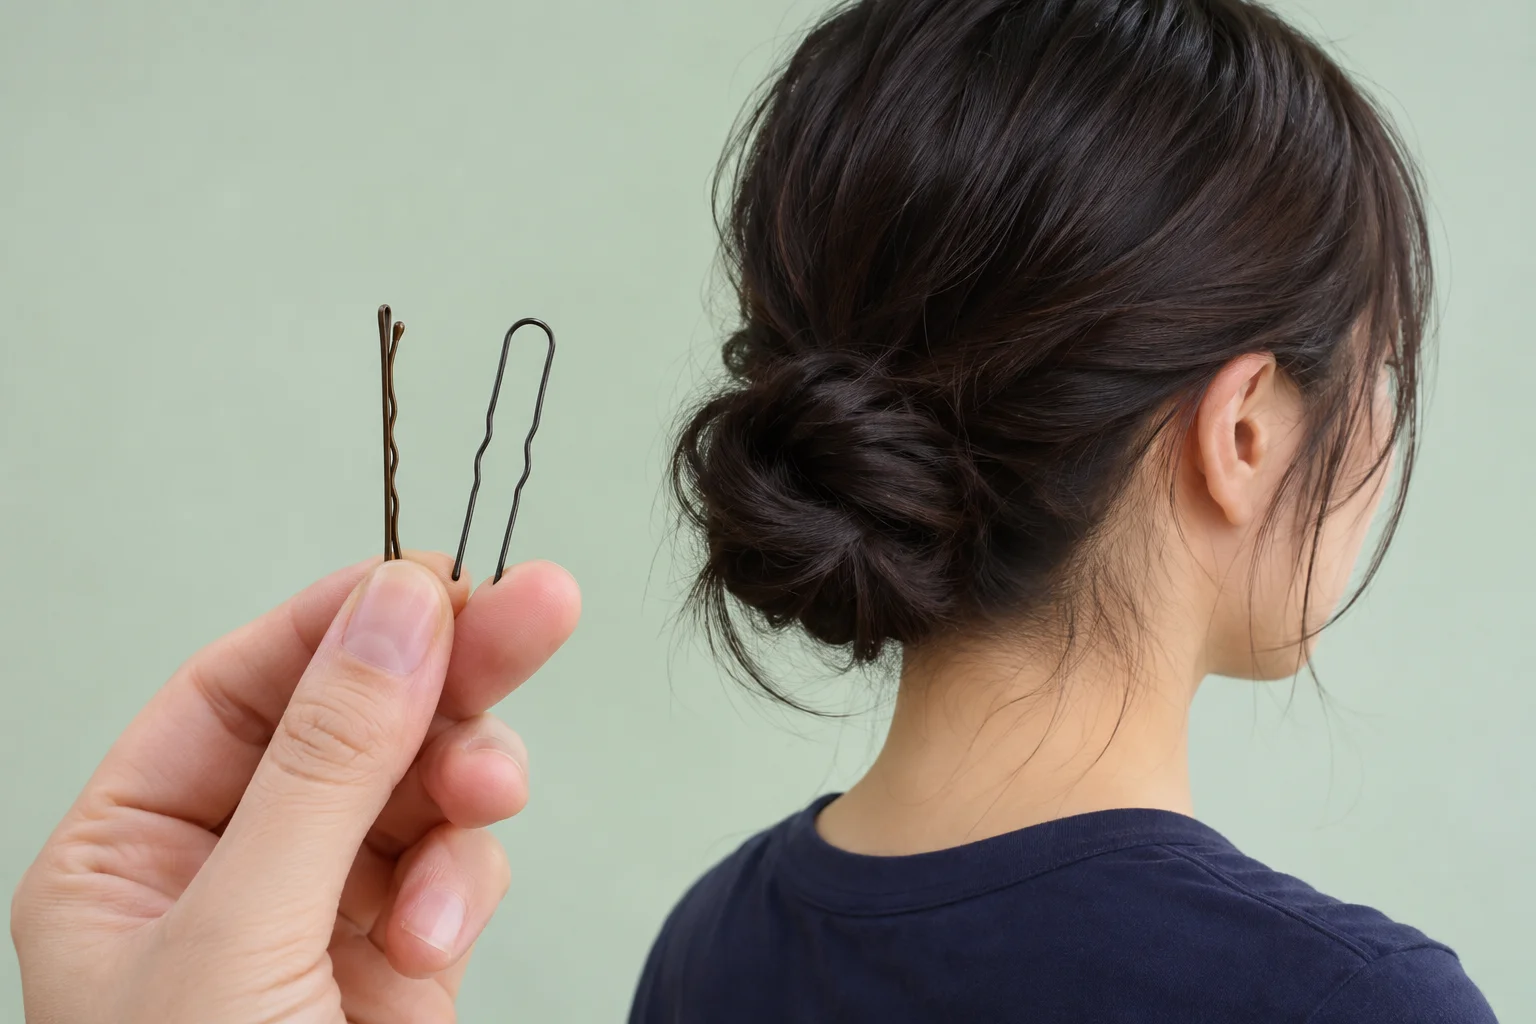
A closed bobby pin has two arms that sit close together and grip a relatively small section. An open U-shaped pin has space between its legs and is useful for connecting part of a bun to the surrounding hair. Compare their shapes in your hand before placing either. Do not assume that a much larger closed pin is simply a stronger version of an open pin, or that every accessory belongs in the same amount of hair.
Inspect the pins you plan to reuse. Set aside one with a rough edge, a damaged tip or arms that no longer sit as they should. With a closed pin, avoid forcing the arms far apart to fit a section that is too large. Instead, reduce the amount you are trying to catch or choose a fastening suited to the job. You should be able to guide it through the hair without using your scalp as something to push against.
Keep decorative details separate from structural decisions. If you want a visible embellished pin, decide where the bun holds first and add the ornament only where it sits comfortably. Our accessory guide helps you choose between different fastening types; this practice is about the small connection inside a pinned bun.
Choose the accessory by its job
Build a base that lets the outside stay soft
Gather the hair where the bun can rest without being pushed by your clothes. Twist or fold the length into a compact starting shape while leaving the surface as relaxed as you enjoy. Keep one hand underneath it. You need enough structure for the pin to catch, but you do not need to pull the roots flat. If the shape collapses as soon as you move your hand, make a smaller or simpler fold before continuing.
For hair that gathers easily into a ponytail, a comfortable tie can provide a separate base before you arrange the length around it. This is an option, not a requirement for every bun. Compare how the gathered base feels with the version you make without a tie. If you choose it, let the tie support the gathering and use the pins to place the folded length, rather than asking each little pin to hold the entire hairstyle alone.
Keep fullness and anchoring as two decisions. You can leave a soft outer loop once a smaller interior fold is supported. Trying to keep every part equally loose makes it difficult to find anything stable to connect to. Begin with a modest shape that stays comfortable, then adjust only the surface detail you want to see.
Join a small fold to its supporting hair
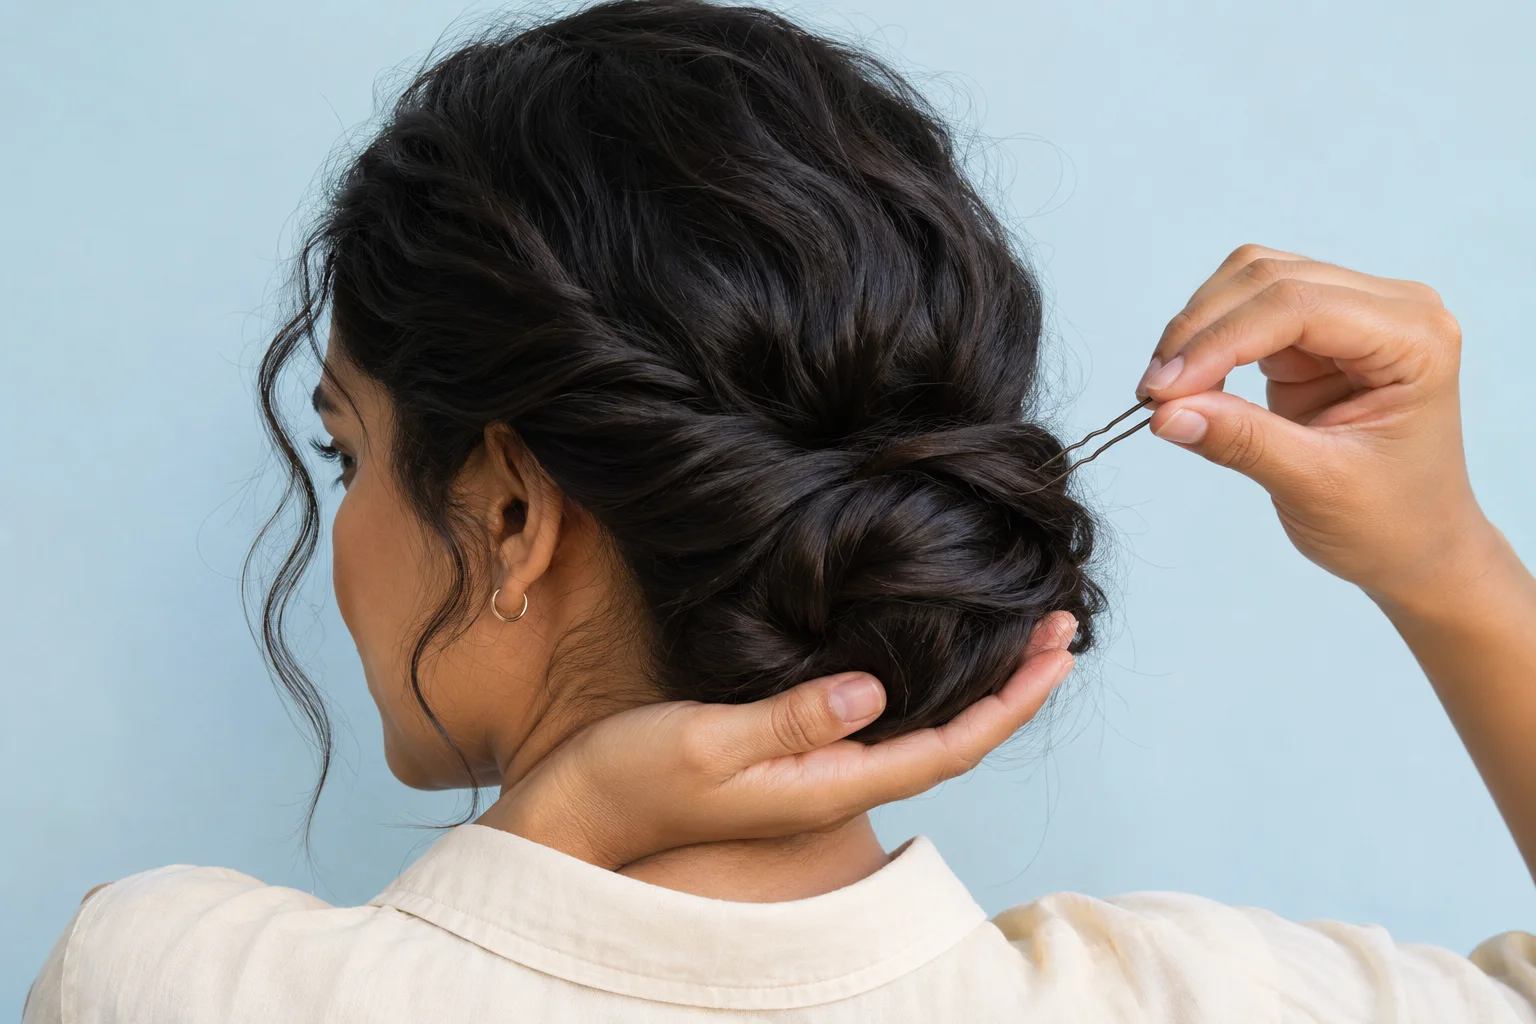
With an open hairpin, begin by catching a small amount near the outside of the bun. Change its direction so that it returns through the shape toward the hair supporting it. Guide it along the hair, keeping the tips away from the scalp. Professional educator Sam Villa describes a hook movement when securing a shape with a hairpin; the important practical distinction is that the pin connects two areas rather than disappearing into the same loose surface.
Use a mirror to see your hand position and keep the other hand supporting the bun while you practise. If the pin meets resistance or feels sharp against your head, withdraw it and change the entry rather than pushing harder. A comfortable placement may take a different angle or a smaller amount of hair. You do not need a fixed insertion depth or a particular number of pins to begin learning what your shape can support.
Release your supporting hand gradually. If the fold opens immediately, inspect which hair the pin actually caught. Try the connection again before adding a second pin. Once that connection works, you can use another fastening for a separate loose area instead of piling several into one uncertain entry point.
Sam Villa: a hook movement for a hairpin
Reset the loose area without rebuilding every strand
If one loop begins to drop, hold the bun before moving the pin that was supporting it. Withdraw that pin along its entry path and place it on your clear surface. Remake the small fold and try a more useful connection. This local reset lets you preserve the rest of the arrangement and makes it easier to tell whether the new placement helped.
If the whole bun keeps sliding, start again with a smaller shape or a different supporting base. A pin placed well in one loop cannot compensate for every other section moving underneath it. Check that the hair you are anchoring into is part of the gathering you want to keep, rather than another loose piece that travels with the bun. Revisit the gathering point before adding more fastenings.
For a short end that sticks out, decide whether it actually bothers you. Soft ends can belong to the look. If you want it tucked away, fold just that end under an existing curve and use a suitable small pin for that job. Avoid stretching the shortest hair across a gap it cannot comfortably reach. A separate finish is often easier to reset than a strained connection.
Adapt the amount of hair before adding products
Fine or very smooth hair may leave little material inside a large loop. Try a more compact fold and a smaller section at the fastening point before changing your whole routine. With dense hair, divide the folded length into manageable parts and support them individually. More hair does not automatically call for every pin to take a bigger bite. Each connection still needs a clear place to settle.
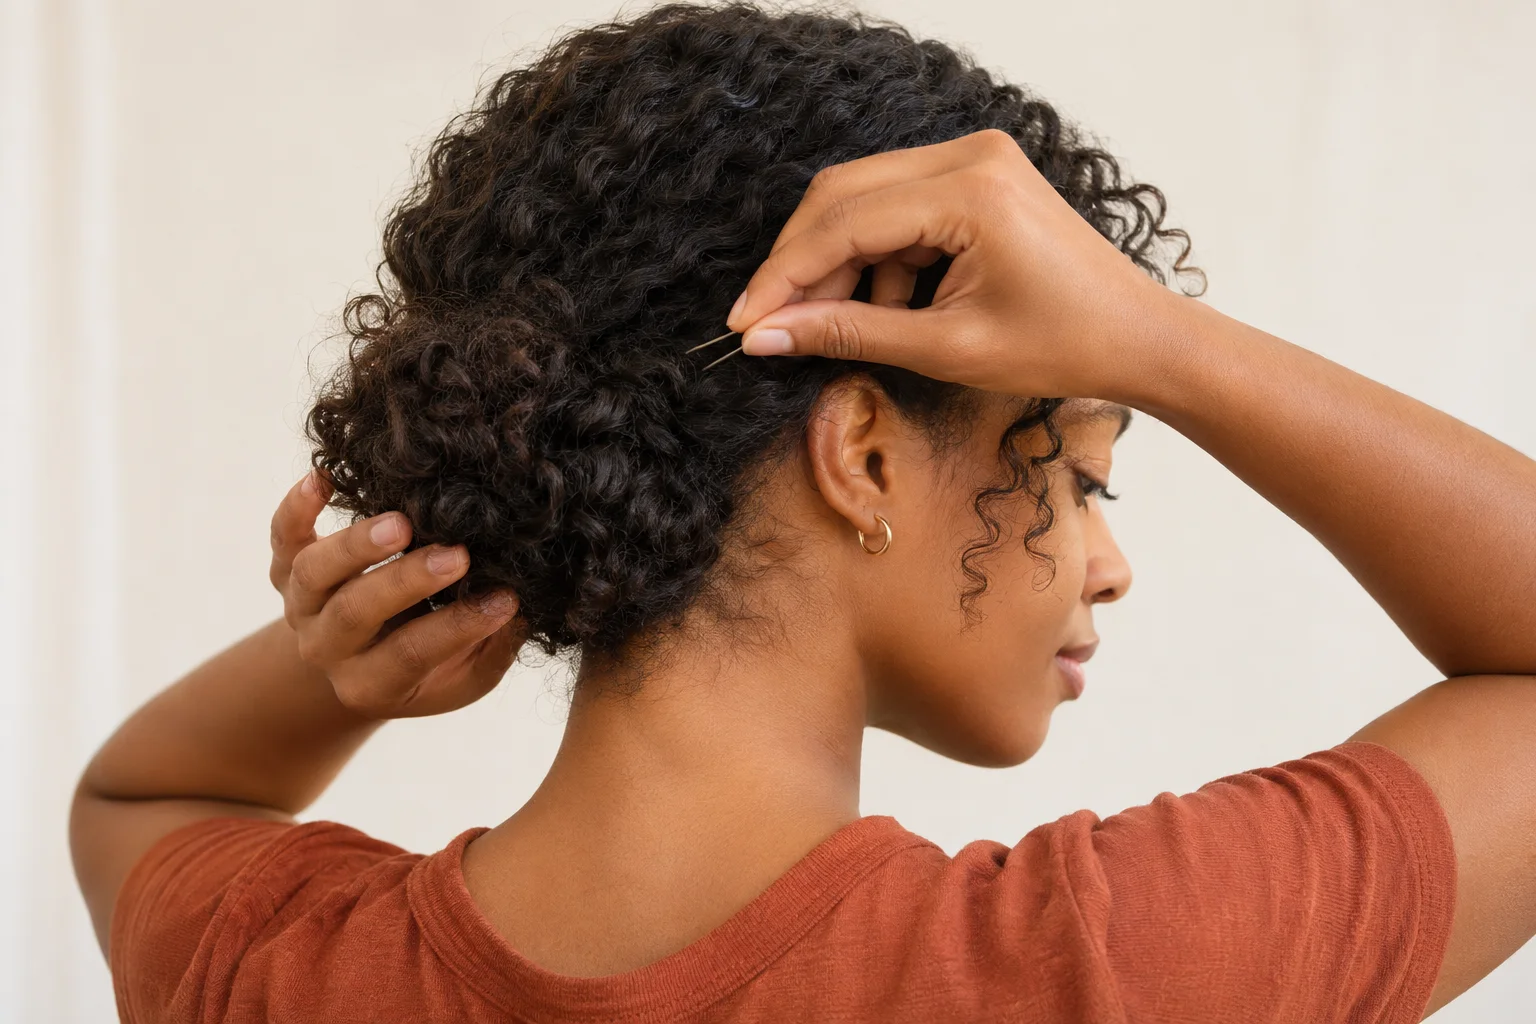
With curls or coils, use your fingers to arrange the parts you want to gather and keep the surrounding texture intact. Separate the supporting section gently instead of repeatedly combing through the whole style. Check that the pin is travelling through hair, not catching a tangle that you will have to pull apart later. If a section resists removal, support it and work the pin back slowly rather than tugging.
If you already use a styling product comfortably, follow its own directions and try a modest adjustment only after checking the shape and pin placement. There is no need to coat every pin or add several unfamiliar products for this exercise. Keep a note of what you changed so that the next attempt has a clear starting point.
Check a normal day and plan the release
Once the bun feels settled, turn to both sides, look down and sit back as you normally would. Check the side and back views. If you catch yourself lifting the whole bun every few minutes, return to the supporting fold rather than repeatedly adjusting its surface. A lower, flatter or smaller arrangement may suit the contact with your clothes and chair more comfortably.
Practise removal before choosing this method for a rushed morning. Support the bun and take out visible finishing pins first, then the pins holding the main folds. Keep each one on the clear surface so that you can account for it. Release any tie after the pinned parts are free. Open the folds with your fingers instead of pulling the entire bun down while a hidden pin may still be inside.
After taking it down, note any spot where a pin repeatedly pressed or tangled. Choose a different entry or fastening next time. A hairstyle that feels uncomfortable deserves a reset when you notice it. You do not have to keep a painful placement because the outside happens to look tidy.
Keep a small placement note you can repeat
Write a short record after a useful attempt: where the bun sat, whether you used a tie underneath, which pin held the first fold and what changed during the movement check. Add one back-view photograph if it helps you remember the shape. You are recording a method for your own hands, not trying to make every pin invisible from every possible angle.
Try a note such as: low bun clear of the collar, small inner fold supported first, open pin joining the fold to the gathered hair, short end finished separately. At the next attempt, recreate that base before changing the surface. If you want a different mood, loosen one visible piece only after the support is established. This keeps a styling choice from obscuring the reason the bun held.
Our guide to keeping hair off the face offers separate ways to manage the front without rebuilding the back. Choose one of those if the bun is stable but the temple pieces are distracting you. Keep the decisions distinct: support the bun, finish the loose sections and choose the amount of softness. A clear job for each pin makes the routine easier to understand and repeat.
Keep the front sections out of your face

Questions
Should I add more pins whenever the bun loosens?
First support the shape and identify the part that moved. Reposition the pin that should connect it to stable hair. Add another only when it has a separate job, such as securing a different fold or finishing a short end.
Can I make a relaxed bun with a tie underneath?
Yes, if that base is comfortable for you. Let the tie hold the gathering, then pin the folded length around it. Keep the roots comfortable and adjust the visible outer pieces after the supporting shape is settled.
Why does a pin disappear into the bun but still slide out?
It may be travelling through the same loose material rather than connecting the fold to supporting hair. Withdraw it gently, make a smaller fold and try an entry that joins those areas. Do not force it against your head.
Do I need to hide every pin?
No. Decide whether you enjoy a visible fastening. Its first job is to sit comfortably and hold the intended section. Once the shape works, you can adjust the finish or choose a discreet colour without changing the whole method.