
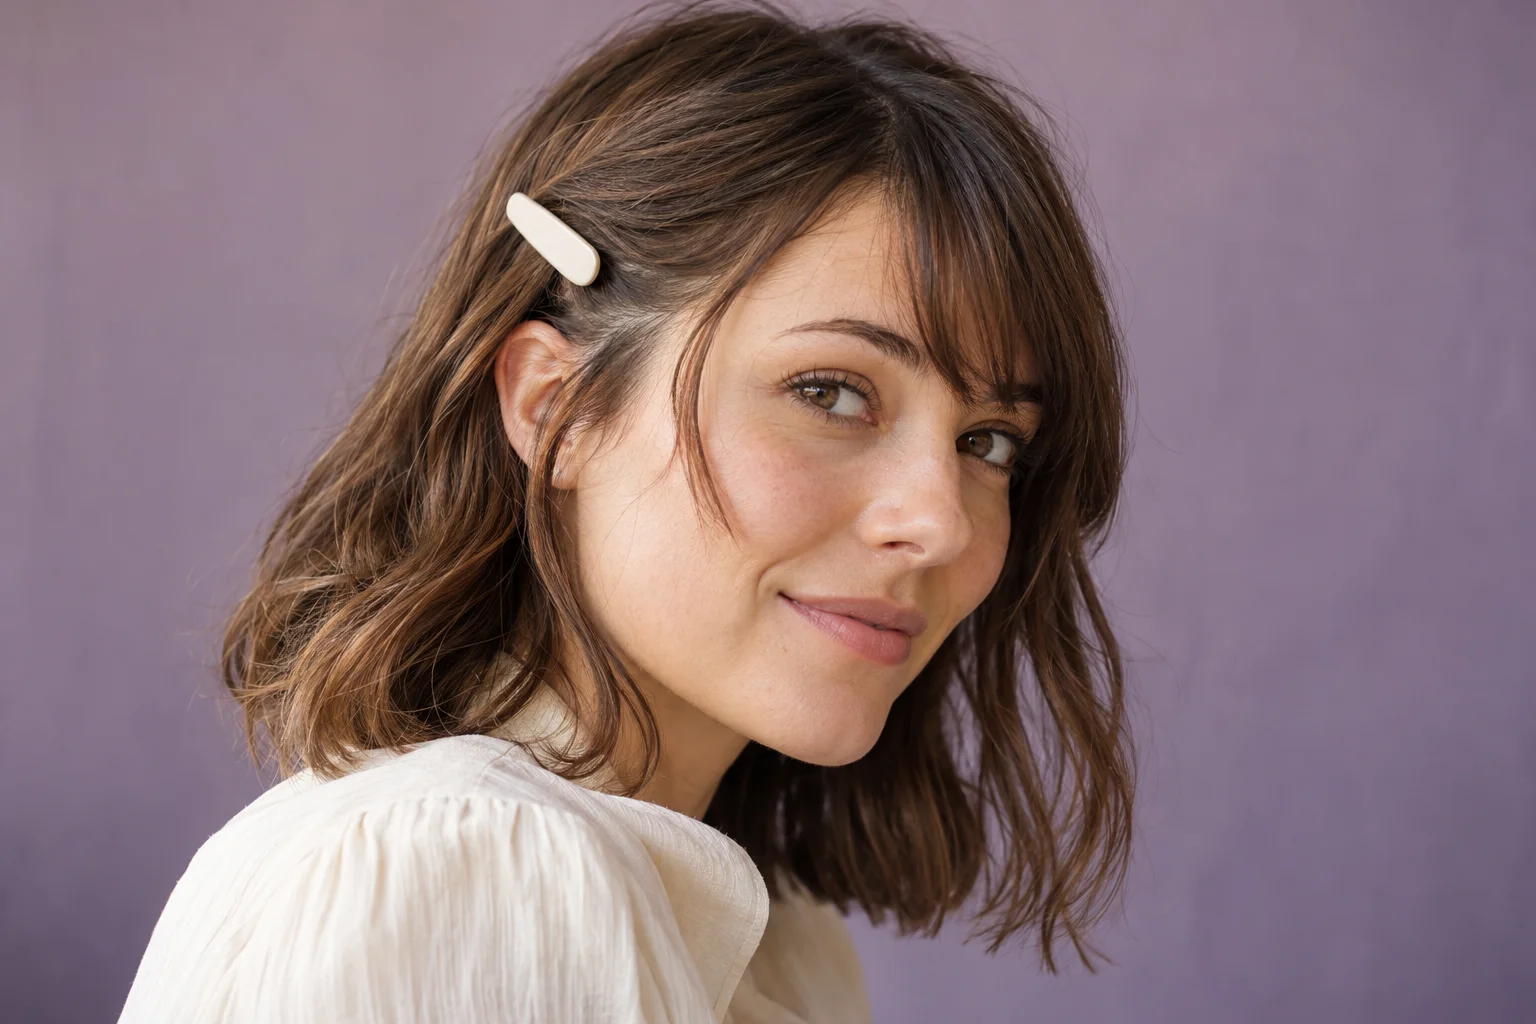
Growing out bangs is easier when you secure the short front independently instead of pulling it towards a ponytail it cannot yet reach. Start with a small side sweep and place a light clip across the fringe ends, catching a little longer hair underneath. If the shortest pieces escape, move the anchor closer to the forehead rather than tightening the whole hairstyle. A loose front twist or soft headband gives you two alternatives for days when a clip feels awkward.
The useful question is where your fringe reaches comfortably today. Eye-length hair, cheek-length corners and a shorter centre need different arrangements, even on the same head. This guide takes you through that placement decision, then shows how to change it as the front grows. Keep your usual texture and the rest of your haircut: the task is to manage the changing front, without turning every morning into a full restyling session.
Growing out bangs starts with the shortest piece
Let your hair settle in the way you normally wear it before choosing a fastening point. With dry curls, use their resting length rather than stretching them straight. Separate the former fringe from the longer hair at the temples with your fingers. You are finding the section that keeps falling forward, not drawing a perfect triangle or making a new cutting guide. Leave the longer sides loose for this first check.
Now move the front gently to one side and watch the shortest ends. Where do those ends stop while your roots remain relaxed? That is your first possible clip location. A barrette placed farther back might look neater in a photograph, yet fail because it catches only the longer corners. If the middle pieces do not reach it, they will fall free whenever you move. Begin closer to their actual endpoint and let the fastening be visible.
Check the two sides separately. An off-centre part can leave a smaller group on one side and a denser group on the other. You can secure only the side that bothers you; matching clips are a styling choice, not a requirement. Keep a few soft pieces loose if they stay clear of your eyes and feel comfortable.

Build a side clip around an anchor, not a tight sweep
Choose a small, light clip whose opening can take the section without forcing the clasp. Hold the front in the direction you want and introduce a little longer hair immediately underneath the ends. Close the clip across both groups. The longer hair provides something for the fastening to grip, while the short ends stay inside its working area. Avoid collecting a thick temple section just to fill a large decorative barrette.
Release your hands before deciding whether it works. If the clip drops towards your cheek, check whether its weight is carrying the whole section down. Try a lighter fastener or a slightly different position. If the clip stays put while short ends appear in front of it, the problem is coverage: reopen it, guide those ends inside and bring the anchor closer. These are different failures and need different adjustments.
Do not solve slipping by dragging the roots flatter and flatter. Your front should follow the head comfortably rather than form a taut diagonal across the forehead. If the natural direction keeps lifting the section, accept some height or try the other side. A small change in direction can do more than another layer of product.
Use a loose twist when the corners keep separating
A shallow twist groups short pieces that otherwise travel in different directions. Take a manageable front section and turn it gently away from the face, adding a little adjacent hair as you go. Stop while the shortest ends are still part of the shape, then secure the twist into the longer hair beside it. You do not need to continue all the way behind the ear.
Keep the twist broad enough to read as a soft fold rather than a thin cord. If the surface feels stretched, undo it and use fewer turns or a smaller travelling distance. For curls, work with a natural curl group where possible. The shape can remain textured; its job is to collect the front, not to straighten the rest of the haircut.
With a pin, make sure its tips rest comfortably within the hair and do not press into your scalp. If you cannot find a secure, painless position, choose a clasp instead. Remove the pin by reversing its path while supporting the twist, then release the hair with your fingers. Pulling the whole twist apart before finding the fastener can make removal unnecessarily difficult.
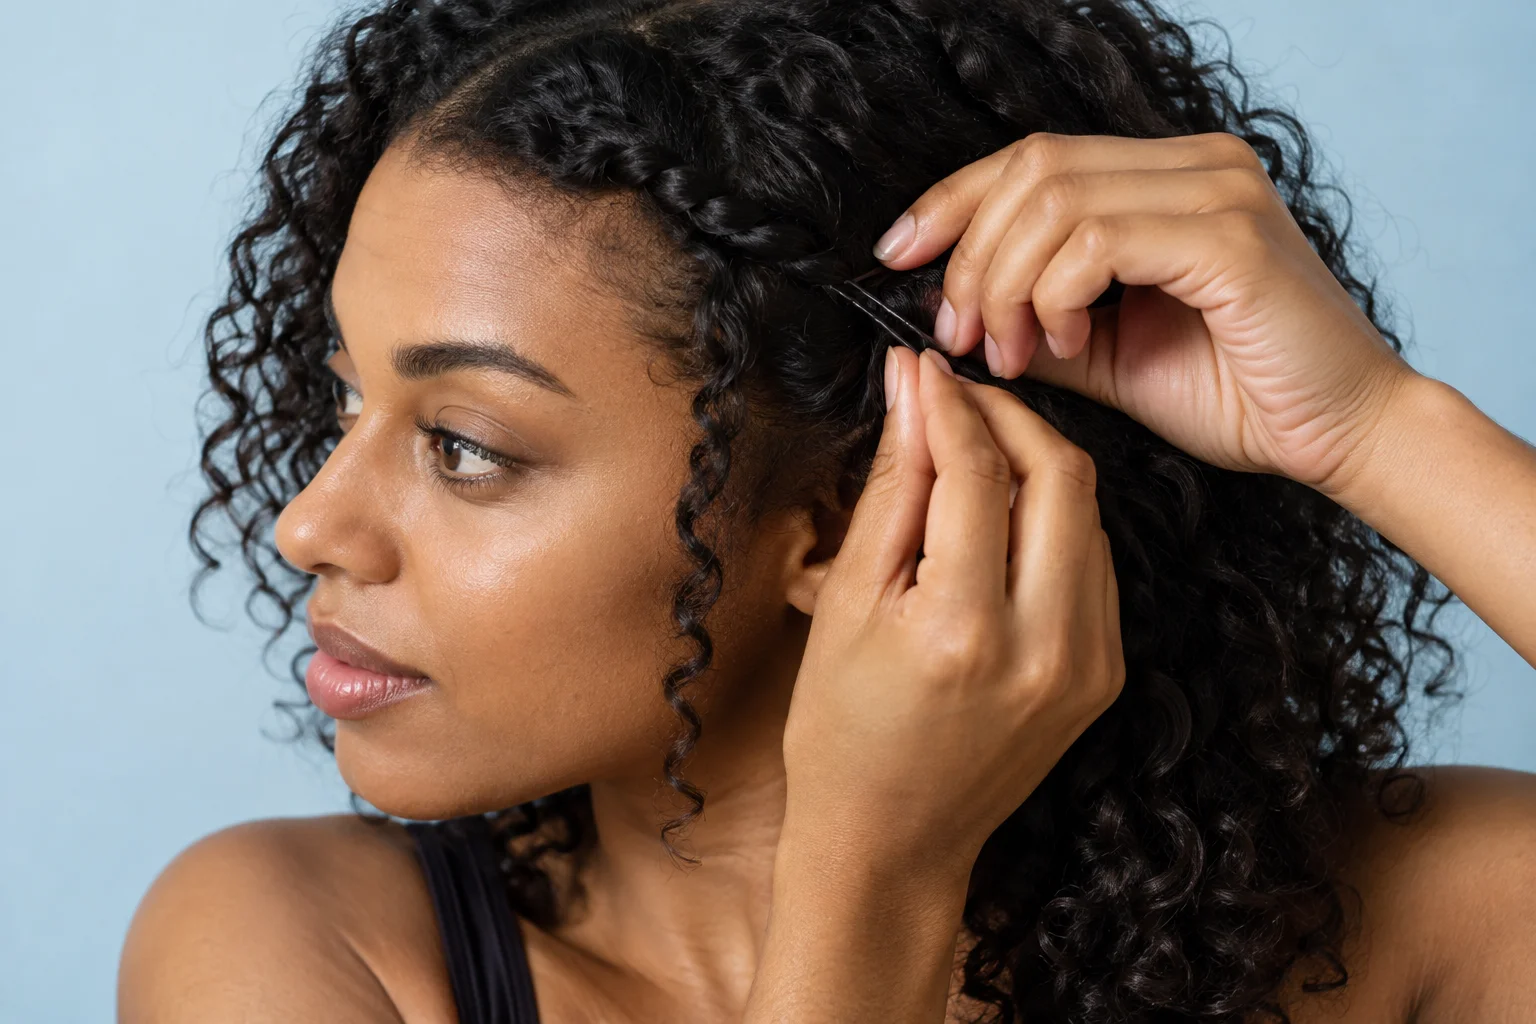
Decide when to split the front into two smaller sections
A central opening can help when each half reaches its own temple more easily than the entire fringe reaches one side. Make the opening with your fingers, then guide each half outwards without flattening the roots. Fasten the first side where its shortest ends comfortably arrive. Repeat on the other side, choosing the position from that section rather than measuring an identical distance from the brow.
This is useful for a fuller fringe whose sides are growing at different apparent lengths. The two fasteners can be similar without sitting at precisely the same angle. From the front, check that the opening looks deliberate and that neither group falls across your sight line. Then turn your head and check the outer edges; a clip can appear secure from one angle while leaving the shortest corner outside its clasp.
If your natural growth direction strongly favours one side, a forced middle opening may demand more work than it saves. Return to an off-centre sweep or try a headband. You are choosing a temporary arrangement for the hair you have now, not committing to a permanent part or a particular face-framing haircut.
Explore fringe styling directions · Professional fringe grow-out guidance
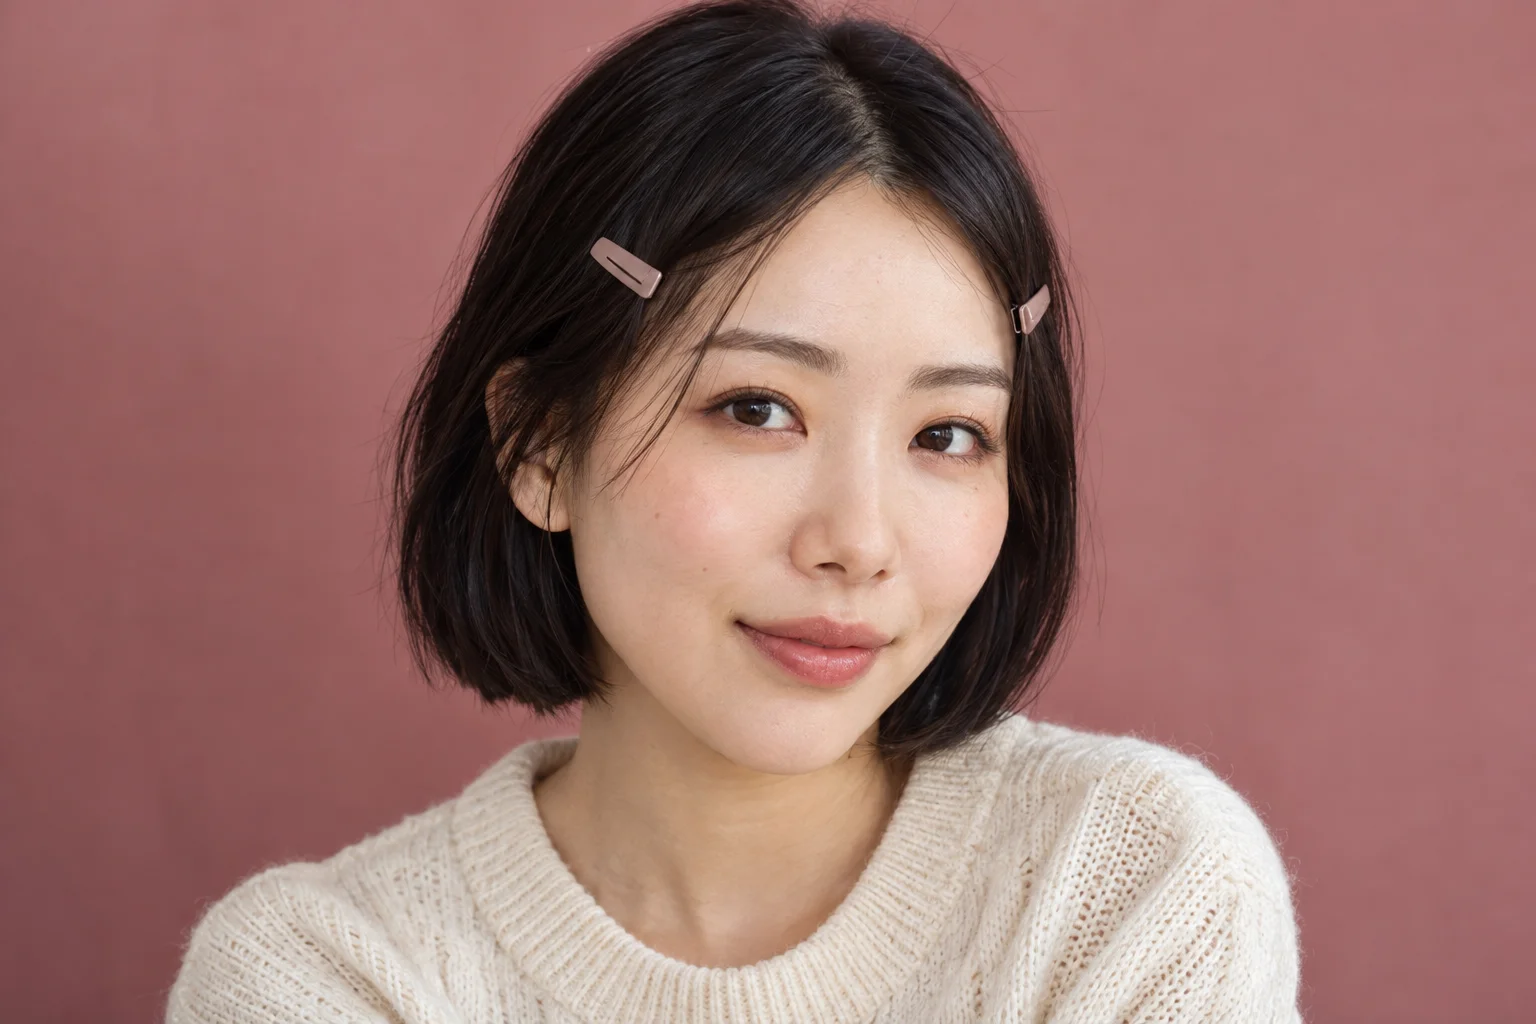
Place a headband behind the front without dragging it back
A narrow, soft headband offers another way to support pieces that do not comfortably reach a clip. Start with the front directed gently away from your eyes. Set the band where it can cover or support the fringe ends, then let the roots relax. Check how the ends sit at the edge: they may need a small adjustment with your fingers rather than another push backwards.
Try the band with your glasses and earrings before leaving it on. If its ends meet the glasses arms or press behind your ears, choose a different shape or use a clip instead. A wider band is not automatically more comfortable, and moving an uncomfortable one farther back can pull the front without resolving the pressure. The best placement is the one you can forget about while moving normally.
Let the longer hair fall naturally around the band. You can gather the lengths later if you want, but the band should not depend on a tight ponytail to stay in place. Remove it slowly, supporting any short pieces caught beneath its edge. Avoid sliding it repeatedly along the same section when one careful repositioning would be enough.
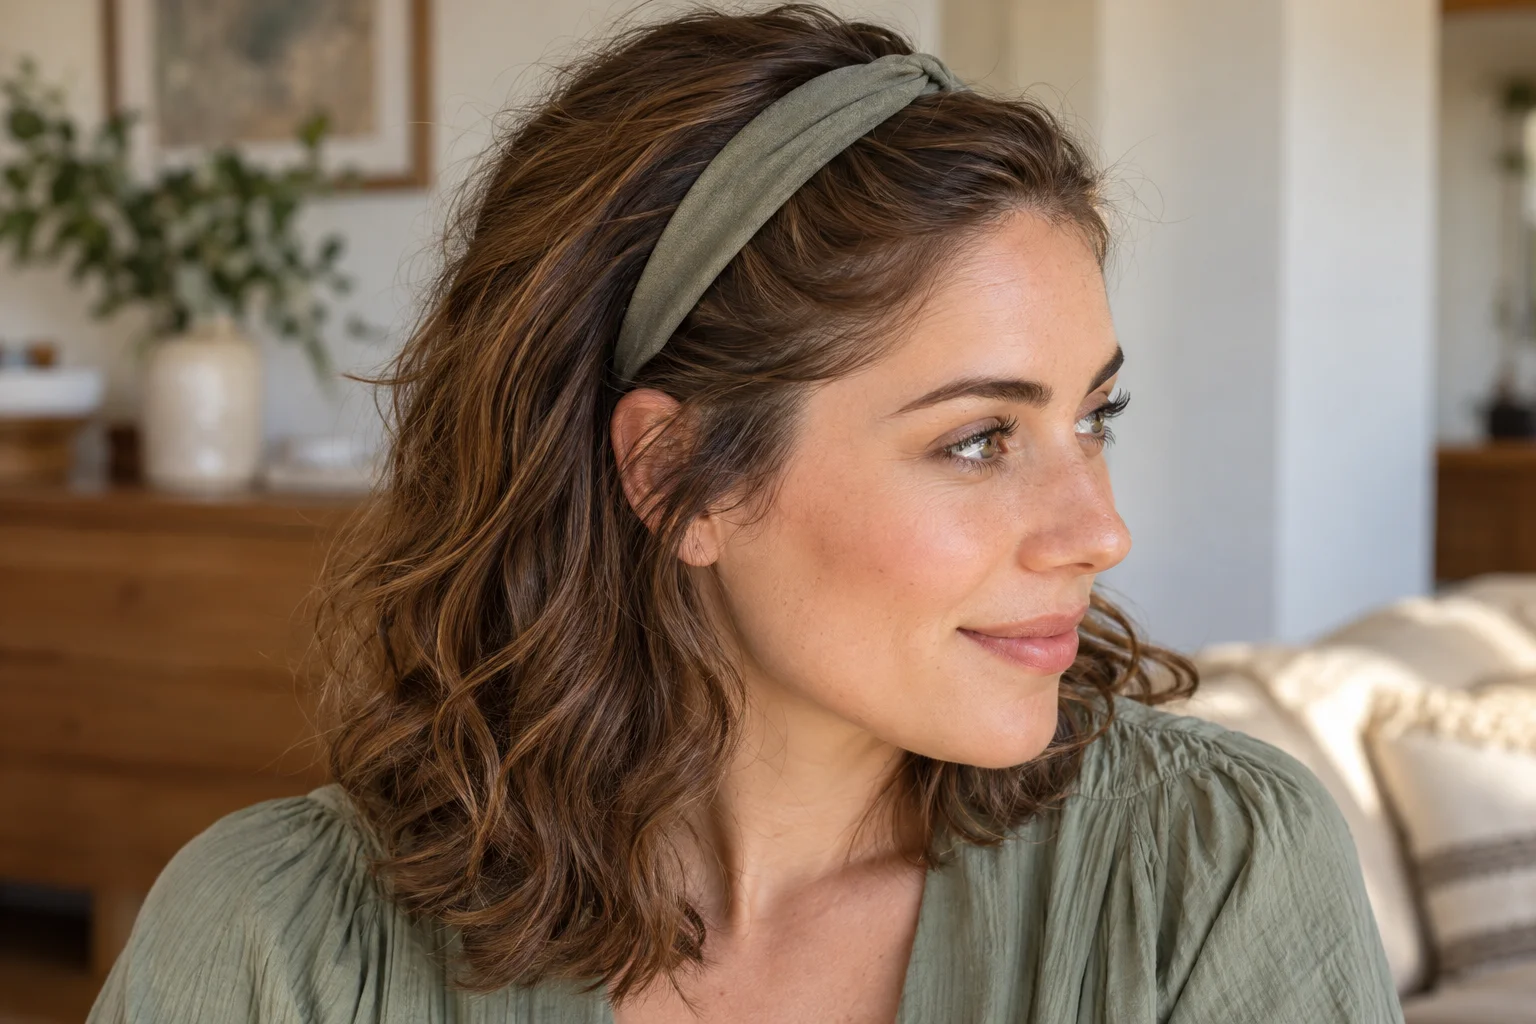
Change the method for fine hair, dense hair and curls
Fine sections can be overwhelmed by a heavy ornament. Begin with a light clasp, then check whether it grips both the fringe and a small supporting section. If it closes without holding anything, a larger fastener may make the problem worse. Dense front sections may need dividing into two manageable groups rather than squeezing everything into a clasp that barely shuts.
For waves and curls, choose the fastening point from the texture at rest. A section that reaches the ear only when stretched may spring forward as soon as you let go. Move the anchor forward, preserve the curl grouping and let the remaining hair keep its volume. You can secure one troublesome curl instead of collecting the entire fringe into a flat panel.
Whichever texture you have, stop and release an arrangement that hurts or pulls. Comfort is a practical part of the selection process, not something to assess after a whole day. If repeated handling is making the front difficult to arrange, simplify to one familiar method for the day rather than alternating between several tight attempts.
Recheck placement as the fringe gets longer
Use reach rather than a calendar to decide when to change methods. Once the shortest front pieces comfortably enter a side clip with less support, try moving that clip a little farther back. When both corners settle into the longer sides, you may prefer an ordinary tuck with a discreet fastening near its endpoint. Keep the previous method available for days when the front falls differently.
Growing the fringe does not mean every appointment must involve reshaping it. If you do want help, explain that retaining front length is the priority and point out which pieces escape your everyday fastening. Ask the stylist to distinguish shaping the longer sides from removing length at the shortest centre. That conversation is more precise than simply asking for the fringe to be tidied.
Bring your usual clip or headband to the appointment if its placement matters. Demonstrate where the front currently reaches, and say whether you prefer wearing it together or split. A reference photograph can show the direction you enjoy, while the real fastening demonstrates the practical length you want to preserve.
Make one final movement check before leaving
Let go of the hair completely, look down, turn to each side and return to your usual posture. Notice whether the shortest ends escape, whether the whole fastening moves, or whether a glasses arm pushes the section forward. Fix the specific cause once. Adding another clip without identifying the problem can leave more hardware in the same ineffective position.
Keep a small spare that does the same job as your chosen fastener. If the front comes loose later, release the section and rebuild the anchor rather than pushing a second clip onto tangled ends. At home, remove the fastening carefully and let the front settle before putting it away. A repeatable, comfortable arrangement is a useful stopping point while the length changes.