

Front cowlick styling is usually easier when you place the part beside the section that lifts, rather than forcing a ruler-straight line through it. Begin with a soft off-centre part, let the front fall without your hands, and check whether a small side shift keeps the eye area clearer. If you want a smoother finish, work on the damp roots of that small section before polishing the ends. Keep the natural lift when you like the shape it creates.
The useful question is not whether your whole hairstyle is wrong. It is where the front begins to turn, which direction feels comfortable and how much daily styling that spot deserves. This guide gives you a practical sequence for choosing the line, directing the front and checking it after ordinary movement. You can use the sequence with loose hair or a gathered style, without choosing a new haircut or building an elaborate product routine first.
Front cowlick styling begins with the released hair
Look at the front before adding a fresh layer of product. Put your fingers into the roots, lift them gently, then take your hands away. Watch the place where the hair separates and the direction of the first visible sweep. A line you hold open with a comb tells you less about everyday behavior than the arrangement that remains when nothing is supporting it.
Repeat after your next normal wash, letting the front settle in its usual texture. You are observing a familiar styling pattern, not trying to diagnose your scalp from a photograph. A section that always turns at the same point gives you a useful starting mark. A single morning after sleeping on damp hair is a less useful basis for changing your entire routine.
Fellow Barber's discussion of part placement explains that natural growth direction can influence how comfortably the hair falls. Use that broad principle to guide observation rather than applying a universal left-or-right rule. The front and crown deserve separate attention. You do not need to identify the rotation of a swirl at the back to notice that one front section prefers to sweep away from a nearby line.
Fellow Barber on natural direction and part placement

Give the part a starting point, not a rigid track
Try placing the beginning of the part just beside the lifting section. Separate only enough hair to see the two sides, then allow the line to become softer farther back. An off-centre start can retain the visual balance you like in a middle part while giving the front more room to turn.
Compare three modest options: your normal line, a slight shift towards one side, and a slight shift towards the other. Keep the hair texture and the placement of the lengths consistent. If you simultaneously tuck one side, brush out the other and add volume, you will not know which change actually helped the front. Release each version and look straight ahead with your shoulders relaxed.
Choose the smallest adjustment that feels useful. A deep sweep may look dramatic in a still image but bring a larger section across the eye when you look down. If that happens, come back towards the original line instead of adding strong hold immediately. Once the placement works by itself, you can decide whether you prefer a clean combed boundary or a barely visible finger part.
Separate root direction from the curve of the ends
A front section can have smooth ends while lifting at its base. Brushing only the last few inches changes the curve you see beside the cheek, yet leaves the starting direction untouched. First identify whether your concern is the root opening, the end flicking or simply a larger section falling forward.
For a root reset, lightly dampen the small area you plan to work on, including the roots, rather than soaking all the loose lengths. Separate neighboring hair so it does not keep falling into the section. Guide the section with your fingers into the chosen direction. If you prefer an air-dried finish, leave it in that arrangement and assess the result once dry before deciding whether more styling is necessary.
Keep the rest of the hair close to your normal finish. A front that has been flattened very firmly can look disconnected from airy waves or curls behind it. You may prefer a soft rise beside the part with calmer ends around the eyes. Describe the shape you want in those terms: a comfortable front sweep, not an obligation to make every root sit completely flat.
Use a short drying sequence when you want more control
If you use a dryer, follow the tool's instructions and use a comfortable, gentle setting with appropriate heat protection. Direct air along the small front section while guiding it lightly, keeping the nozzle away from the skin. Work on the root direction first.
Start with the direction you chose during the released-hair check. You can guide the section softly across the front, then into its final sweep, without stretching it tightly or pressing hot tools against the scalp. Keep the dryer moving. Stop when the section is dry, let it cool and remove your hand before judging the shape.
If the result is too high, change the guidance on the next attempt rather than repeatedly reheating the same spot. If it separates again, consider moving the starting line a little instead of increasing heat. Ask a stylist to demonstrate the smallest useful drying section on your own hair when the routine feels confusing. A clear, repeatable gesture is more valuable than a complicated sequence you cannot reproduce.

Let waves and curls choose their own section size
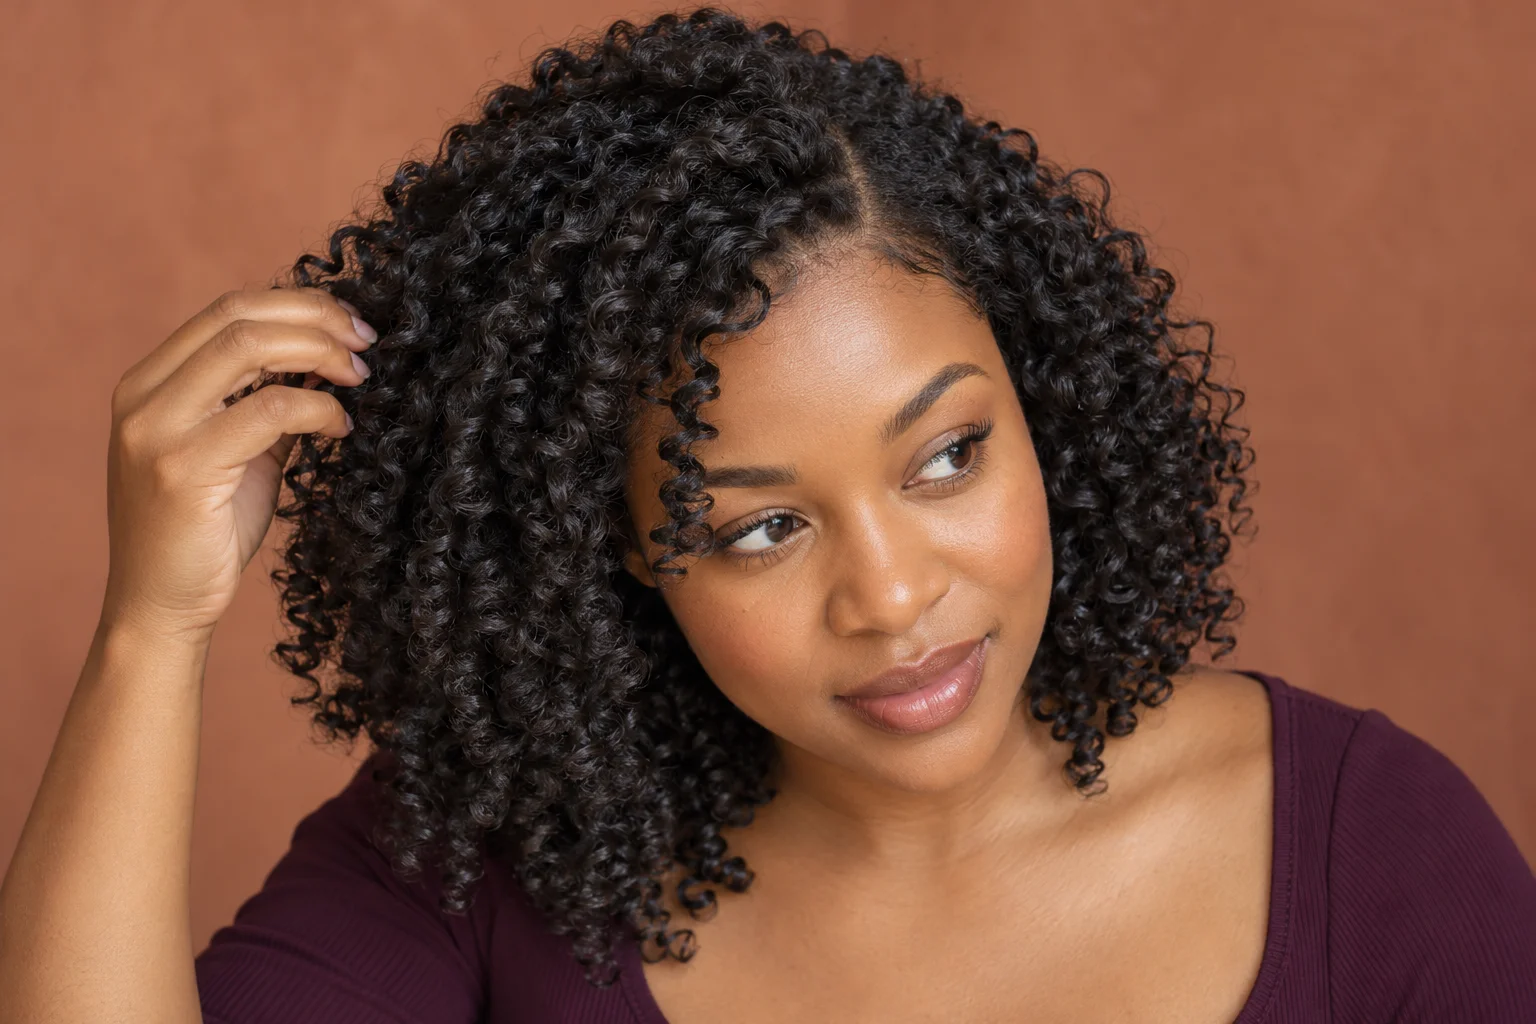
With defined curls, the most useful division may sit between curl groups rather than at a mathematically central point. Move one front group at a time and see how the surrounding shape responds. A finger part can preserve that relationship better than repeatedly dragging fine comb teeth through a finished curl pattern. Leave a small overlap where it helps the front look connected to the rest.
If you are resetting curls from wet, use your normal gentle detangling and styling method, then arrange the front before it dries. Choose a part that the groups can occupy without being stretched into a very different shape. For an already dry style, first try moving the whole front curl together. Refresh that small group only if it needs attention, rather than disturbing the entire top to perfect a narrow line.
Wavy hair can also keep an attractive rise at the beginning of the part. Decide whether that lift is actually the problem or just different from a sleek reference. If your eyes are clear and the outline feels balanced, you may already have the finish you want. The practical goal is a front that behaves comfortably, with a texture you enjoy touching and wearing through the day.
Make the fuller side work during normal movement
A part changes how much hair sits on either side of the face. After choosing the starting line, look down at a book or keyboard. Turn your head, put on your glasses if you wear them and move the lengths behind your shoulders. Notice whether the fuller front section falls into your eye or whether it simply creates a soft curve that stays out of the way.
If it keeps coming forward, try a smaller side shift first. An ear tuck is another option when that section reaches comfortably; let the upper sweep stay soft instead of flattening the entire side. You can also place a discreet clip in the longer side section. That is a separate support choice, not a reason to pull the lifting front tightly across the head.
Use the activity that actually matters to you as the final check. Reading at a desk and walking outside ask different things of loose hair. Keep a simple fallback for the journey, such as gathering the lengths, while allowing the indoor style to remain softer. The existing guide to keeping loose hair off your face offers more anchor options if the issue continues farther down the side.
Ways to keep loose hair away from your face

Explain the awkward point before a haircut
Arrive with the front close to its normal arrangement when you can. Point to where it opens or rises before the hair is washed and restyled. Explain the part you like, what you currently do to set it and the amount of time you want that step to take.
Bring a reference for the front shape, but also describe the detail that matters in it. You might like an open forehead, a soft brow-length sweep or a small rise above one temple. Those are more specific requests than asking for identical hair. Before shortening the front, ask how the proposed section will sit when dry and how it will connect with the rest of your cut.
Keep the length decision separate from today's styling experiment. You can find a better part without cutting, and a new front layer deserves its own discussion. Ask to see the root-direction step in the mirror during the appointment. Repeat the motion yourself if possible, then describe it in your own words so the useful detail survives beyond the salon finish.
Keep a small routine and a clear stopping point
Turn the best version into a short order: separate the front, set the starting line, guide the roots if needed, then release and check. Add product only for a specific job that remains. A light amount applied according to its directions may suit your finish better than stacking several products across the whole top.
Judge the routine after the section has cooled or air-dried and after a little ordinary movement. If it feels comfortable and stays clear enough for your day, stop adjusting. A softly curved line can be a deliberate finish even when it is not perfectly straight. Keep the successful starting position in mind, rather than repeatedly tracing and retracing the same visible strip of scalp.
On the next wash day, repeat the same small sequence before changing it. If one step remains awkward, adjust that step alone: a smaller section, a softer part or less handling of a curl group. Your useful result is a routine that you can remember and carry out calmly.
Questions
Does a front cowlick mean I cannot wear a middle part?
Not necessarily. Try an almost-middle start beside the section that lifts and soften the line behind it. Compare the released front with an exact centre line. Keep the option that needs an amount of styling you are happy to repeat; neither placement is compulsory.
Should I cut the lifting section shorter myself?
Keep a cutting decision for a consultation. Show the dry growth direction and explain the front shape you want. Today's part-placement routine can be tried without removing length. Ask how any proposed shorter section will behave in your usual texture before agreeing to it.
Why does the front look fine until I let go?
Your hand or brush may be supporting the section in a direction it does not keep by itself. Let it dry or cool, release it and check again. Try a nearby part position before adding stronger hold. The released shape is the one to judge.
Do I need to straighten curly roots to change the part?
Start by moving complete curl groups and choosing a division between them. A softer offset line may give you the front arrangement you want while keeping the curl pattern. Work with your usual gentle styling routine and assess the shape after the hair has settled.