
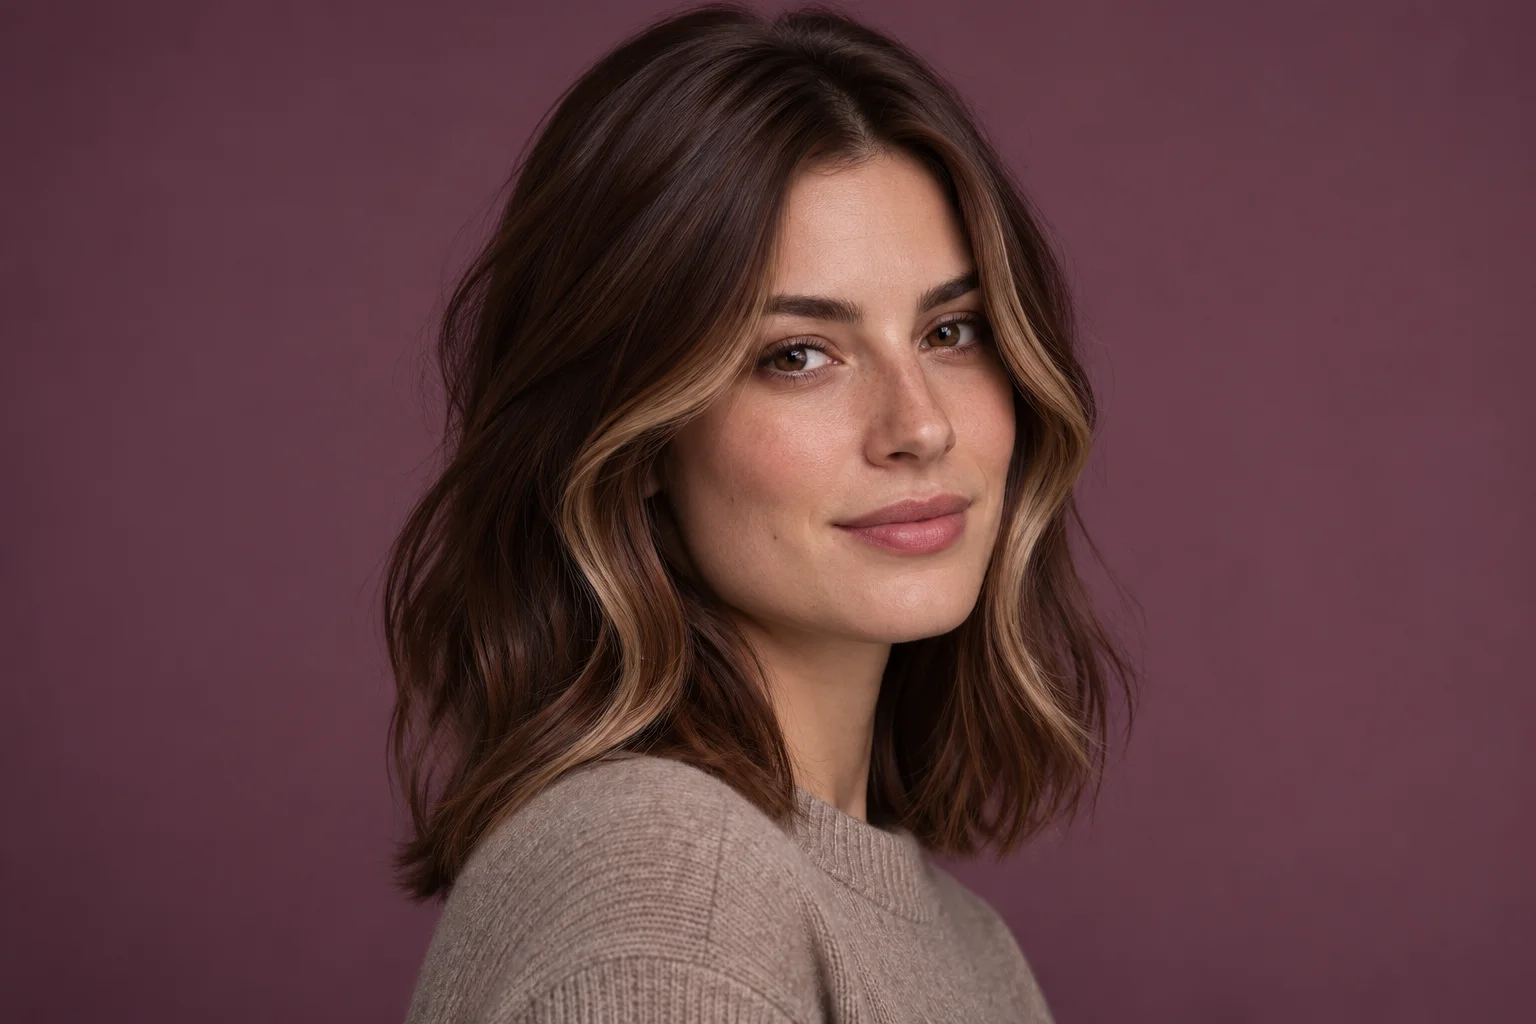
Face-framing highlights are easiest to choose if you start with where the light should catch your eye. For a quiet change, ask for a few fine ribbons with a soft transition around the temple. To make the front the focus, try a wider section that reads clearly beside the cheek. If you wear your hair tucked, check where the bright piece goes once it passes behind your ear. The right height is the one you can see in the way you actually wear your hair.
Give yourself three decisions before the appointment: where you first want to see brightness, how much light hair you want next to the face, and how gradually it should meet the root. This guide walks through each choice, then uses a color try-on and an everyday photo to turn them into a brief your colorist can use.
Where should face-framing highlights catch the light?
Take a front photo and a three-quarter photo in indirect daylight. Wear your usual part and let the hair fall dry, without pulling the front sections flat. On the angled picture, trace the line from the part past the temple to the cheek. Pick the point where you would like someone to notice the color first. The mark is a visual target. Your colorist can work out which section of hair will land there in motion.
Starting visually close to the part gives the light more presence from the front. A soft transition around the temple leaves more of the root looking like your existing color. Brightness that comes forward closer to the cheek is a good direction when you want to see it mostly through the lengths. Pick two nearby marks to compare. The space between your temple and cheek can make a more meaningful difference than changing the shade across the whole head.
Separate the width from the shade
You can make a highlight more noticeable by widening the section, increasing the difference from the base, or repeating a thin ribbon. Compare one lever at a time. With dark brown hair, a narrow golden-brown ribbon may read clearly at the temple. A thicker section of a similar shade can look more graphic because it covers more area. A wider front panel with a smaller color difference reads differently again.
Look at a reference from arm’s length and then at thumbnail size. When you can follow one bright line immediately, the effect is fairly defined. When you see an overall glow near the face and have to look closer to find the strands, the separation is subtler. Ask to leave some of your base between the bright pieces if you like that second effect. Show the colorist how much dark hair you want to remain visible when you look straight ahead.
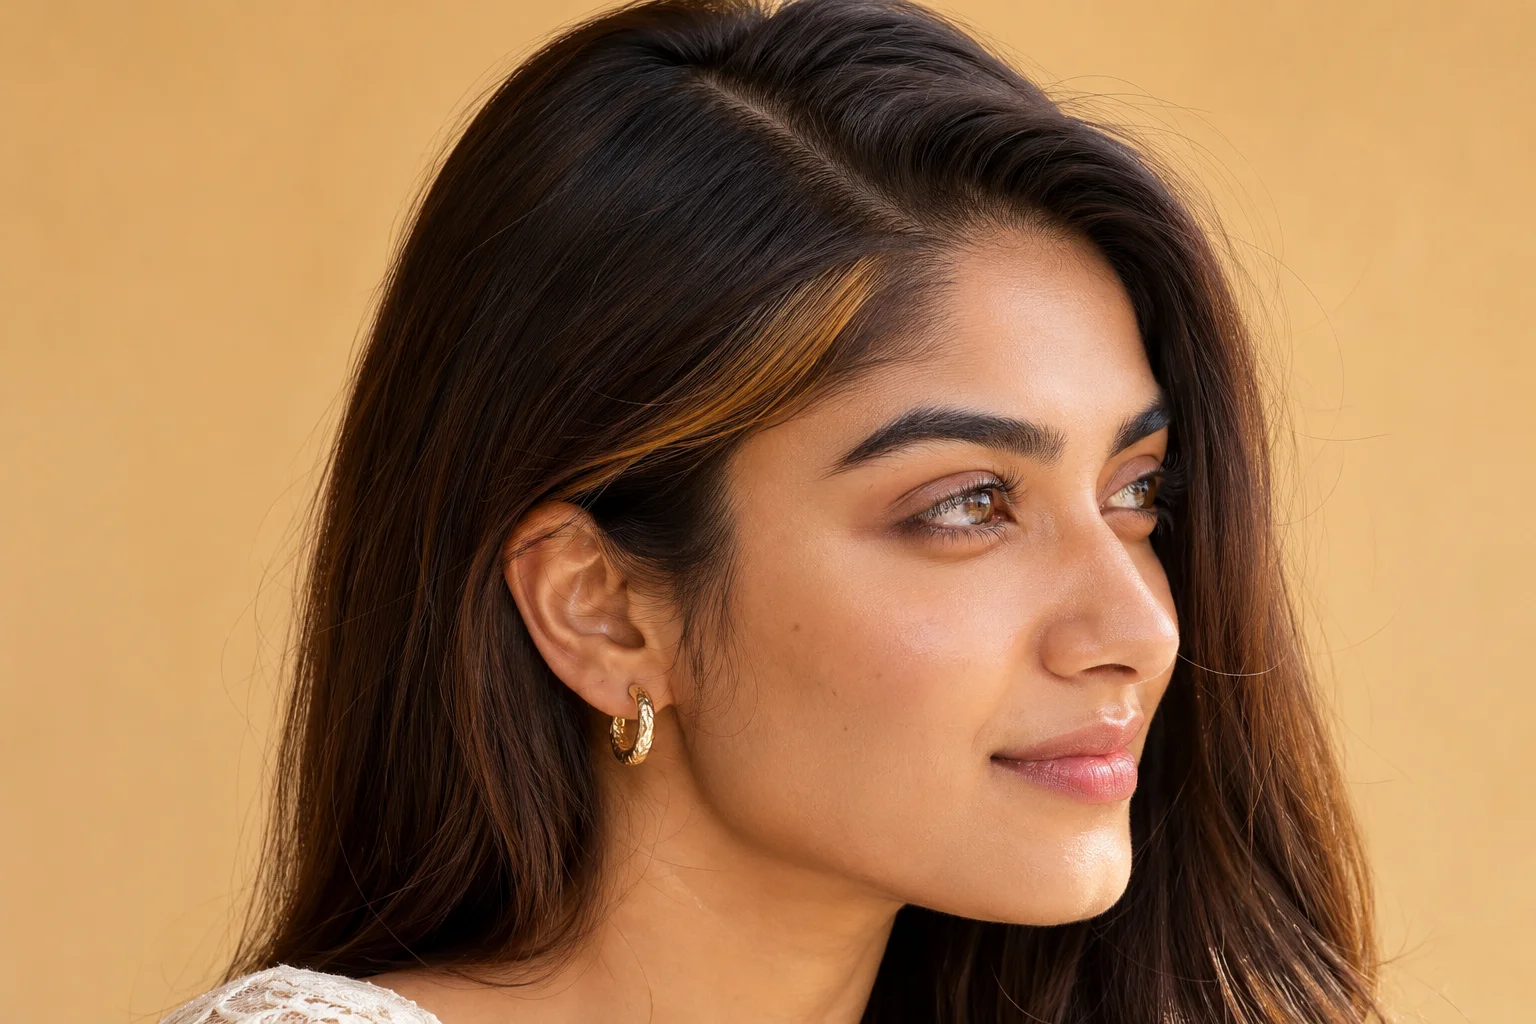
Test your part, tuck and ponytail
With a center part, both sides of the face are easy to see straight on. Think about whether you like the same amount of light on each side. A deep side part moves more hair across one side of the face, so two sections of identical width can look different in the mirror. If you switch sides often, take pictures with both parts and decide where you want the overall balance to land.
For the ear test, look ahead, tuck the side you normally tuck, and turn halfway toward the mirror. Note whether the bright strand is still visible or whether the most visible area has moved behind the ear. If you wear a ponytail most of the week, gather it at your usual height as well. Sometimes an extra front ribbon adds a bright edge along the whole swept-back side. Decide if you want that before choosing a reference that shows all the hair down.

Let the dry shape set the placement
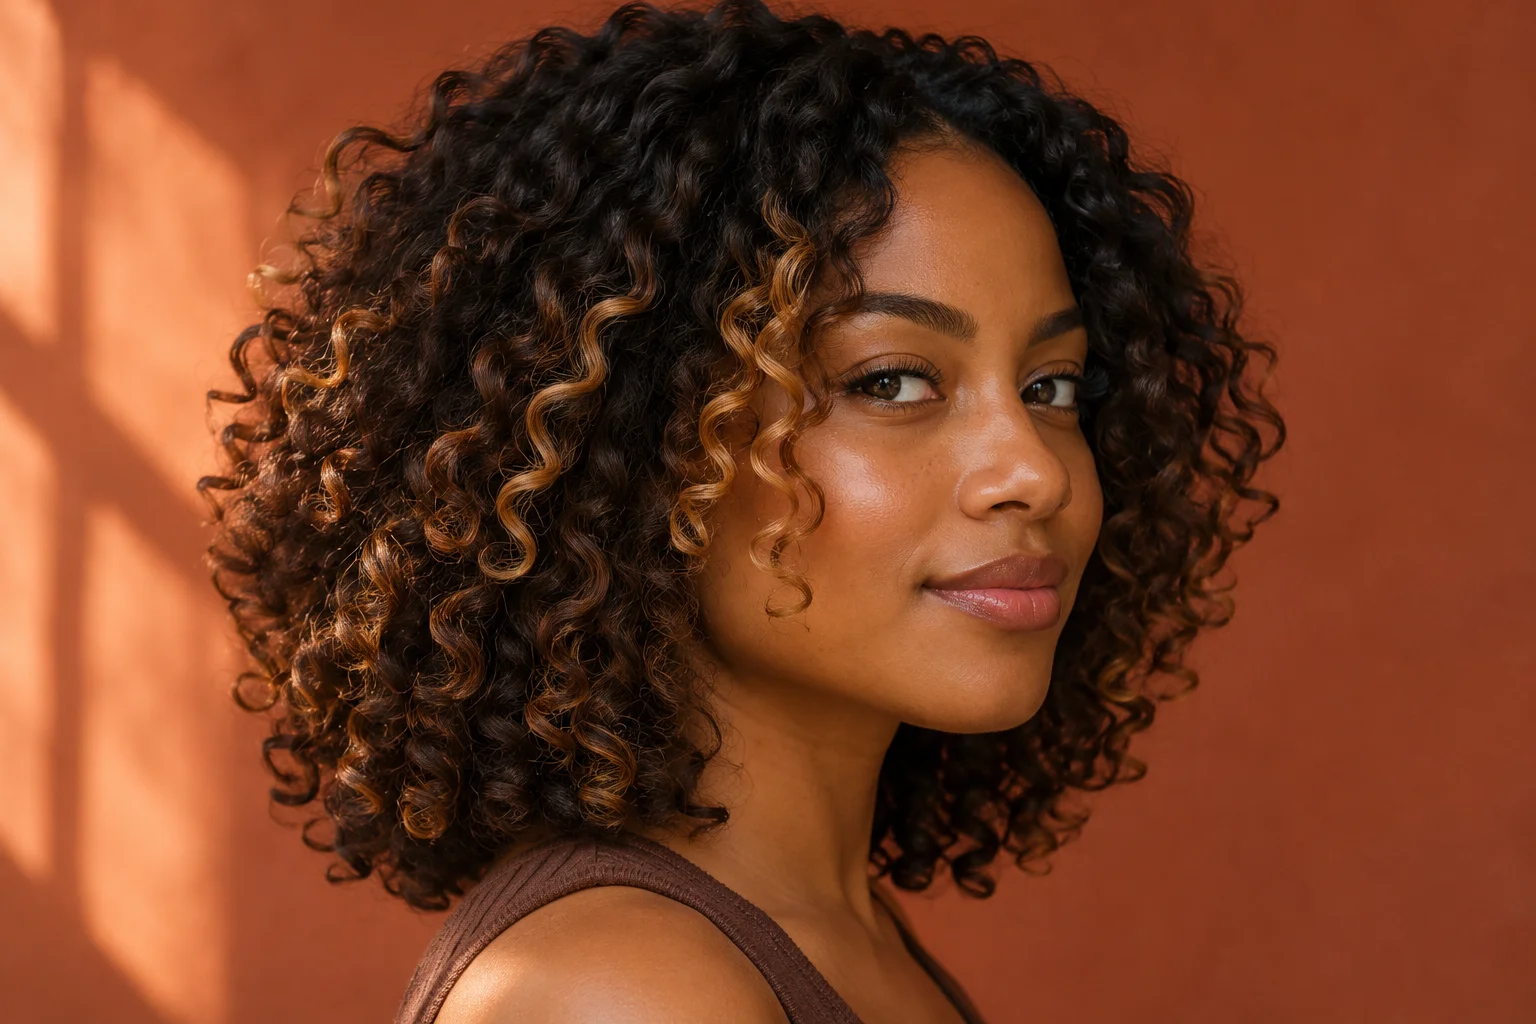
The eye sees the surface of a bend or curl that faces the light first. On loose waves, brightness may jump in and out as a wave turns. On springier curls, one bright spiral can be quite distinct even when the section is small. Bring a photo of a typical wash day and a photo of the day you are most likely to style it differently. Point out the curl or bend that regularly sits beside the cheek.
Look at shorter front pieces too. A grown-out fringe or a face-framing layer may finish much higher than the rest of your hair. If you are getting layers at the same appointment, show where you plan for the ends to fall when dry. Ask how that new length will change which pieces stay near the face. If you alternate between air-drying and a smooth blowout, choose the finish you want the placement to favor and show the colorist the other one for context.
Compare a shade direction with Hair Muse
Use Hair Muse to try hair colors on one selfie. Keep the photo fixed and choose two nearby directions, such as a soft beige brown and a warmer golden brown. Compare them at the same size. Look at the area beside your cheeks, the shadows near your hairline, and how each shade sits next to the clothes you wear most. If one jumps out in a way you like, describe the color in your own words. “Warm, but still brown” is a more actionable conversation starter than “the second picture.”
Then open your regular daylight photo and mark the intended start on that image with your phone’s photo markup. A tiny dot at the temple and a short stroke down the visible front section can convey both height and width. Keep one unmarked copy so the colorist can inspect your current base. Bring the shade favorite and the two original angles together. Give each picture a job: tone, placement, or current hair.
Hair Muse on the App Store · Compare hair color in different light
Turn the references into a salon request
A short request might be “I want the first brightness around my temple, with two narrow ribbons visible from the front. I wear this side behind my ear. Keep the root transition soft and leave brown between the lighter pieces.” Add how the color should look in your weekday style. If you wear it clipped up at work, demonstrate that with a clip you already use. If you prefer one defined accent in a loose wave, hold the wave where it normally falls.
Tell the colorist where your last color is still visible, including darker color through the ends. Ask which part of the reference is most straightforward on your current base and which part may call for a separate appointment. If there are two viable options, prioritize one detail: the softer root, the visible strand in a tuck, or the strongest contrast. Give your stylist permission to adjust the other details around that priority.
Build a short salon reference board
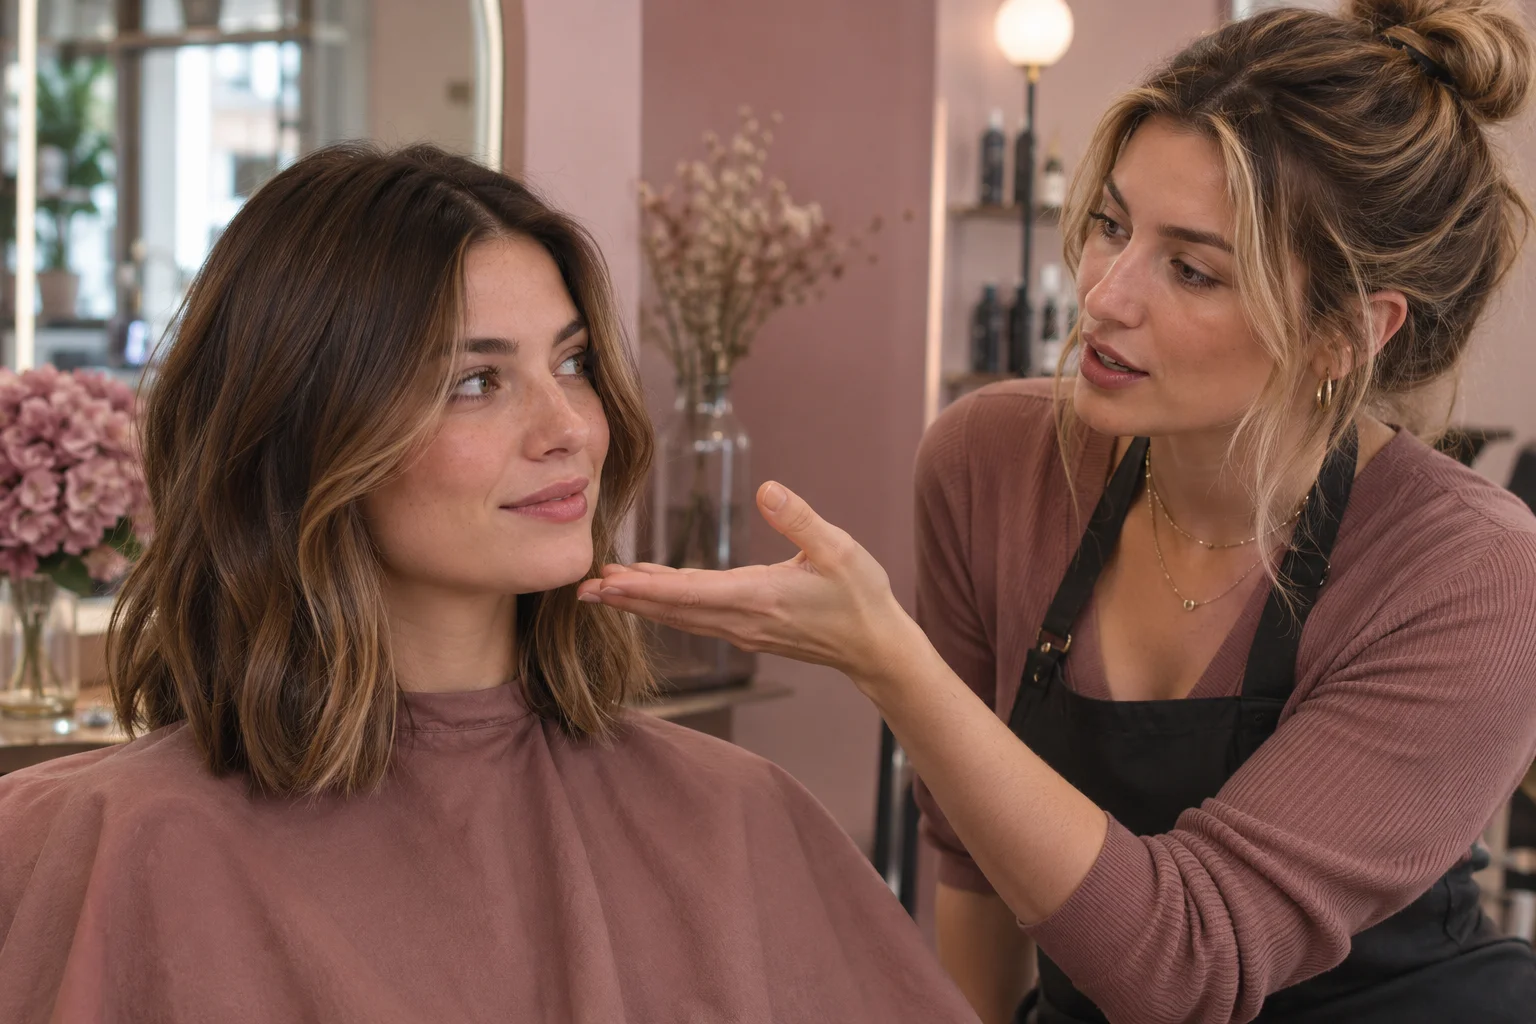
Read a reference with two quick crops
Make a duplicate of your reference and crop it so you can see the part, one ear and the jawline together. Keep the full image too. The crop helps you compare width against the face, while the full photo shows whether you liked the way the ends picked up the same color. If there are highlights at the front and throughout the back, point out which ones you want to borrow. A front-only change can look quite different against a darker back. Have the colorist hold up the front section so you can see how it connects to the rest of your hair.
Decide what you want to see as it grows
Check the shape of the transition in your favorite reference. If the bright ribbon is easy to trace up to the part, think about whether you will still enjoy that placement as it moves down. If it fades gradually into the surrounding base, the visual effect can stay soft while the starting point changes. Ask what you would see first after several weeks in your usual part and how that differs between the two options on the table.
Before committing, look at a real salon swatch or strand in neutral light if one is available. Look a second time with your hair tucked or clipped the way you normally wear it. Once the plan feels clear, restate three things aloud: the first point of light, the amount of brightness beside the face, and the root transition. Those are the notes worth keeping if you come back to refine it later.
Questions
What is the difference between a money piece and soft face-framing highlights?
A money piece usually means a prominent bright section near the face. Soft face-framing highlights can be several finer strands separated by your base. Since salons use these names differently, show a photo and point to how much brighter hair should be visible from the front.
Can I keep the front highlights subtle on dark brown hair?
Start by comparing a fine ribbon with a small difference in shade against your base. Leave some dark hair between the lighter pieces and decide where you want to notice the color first. Show the colorist a front photo in natural light so you can discuss the amount of contrast together.
Where should the highlights start if I always tuck my hair back?
Tuck your hair before you mark your reference. Notice which section remains visible beside the temple or cheek. Show that spot and a picture with your hair down so the colorist can account for both positions.
Can I choose the exact highlight height in a color try-on?
Use the color try-on to compare shade directions. For placement, mark your preferred point on an everyday photo with your usual part. At the appointment, have the colorist locate the hair that sits there when it falls naturally.