
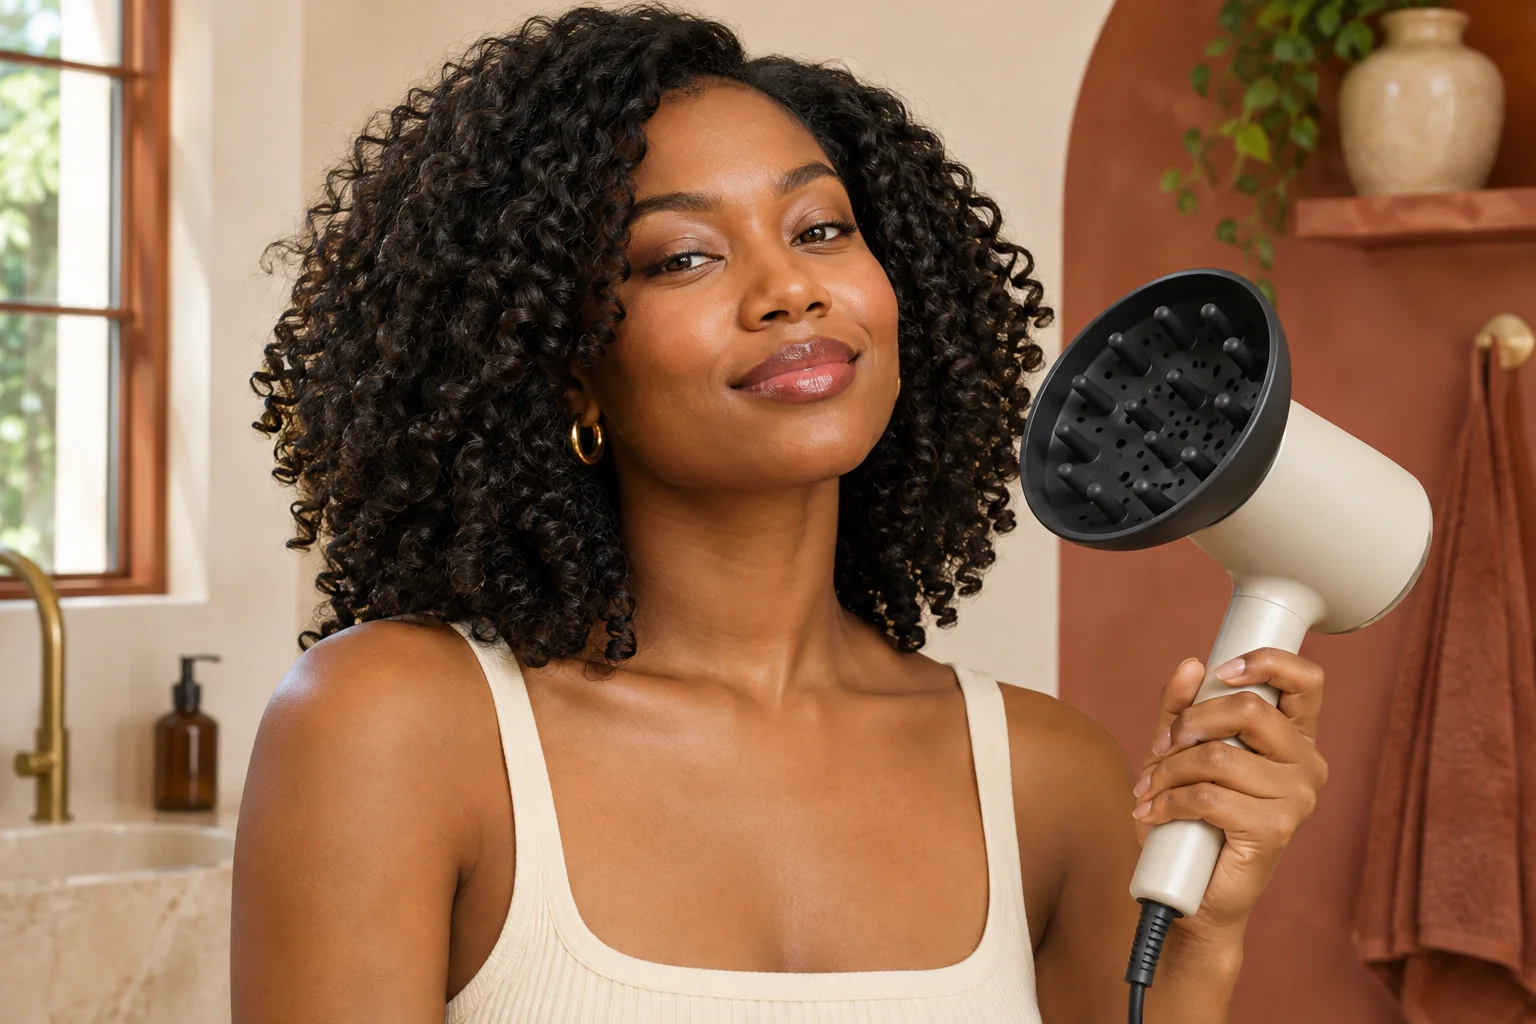
To diffuse curly hair, start with gentle airflow around the roots while the wet curls still hang in their natural shape. Then check the ends. If they are already taking the shape you like, keep drying around the hair. If some look stretched and you want more spring, support those ends briefly in the diffuser bowl. On the last pass, aim at the damp pockets that remain, especially behind the ears and at the nape.
That sequence gives you a clear reason to change technique. A dry-looking outer layer can hide wet roots, and an apparently flat crown may lift once the damp hair underneath dries. Check those areas before adding more product or turning up the dryer. You can use the same approach for loose curls and tight coils by changing how much hair you work with at once.
How to diffuse curly hair in two passes
In the first pass, let the diffuser hover near your hair so the air reaches it with little visible movement. Start on one side of the crown and work around the head. Change where you stand or gently tilt your head when a new area is hard to reach. Keep a comfortable gap between your scalp and the attachment. If the curl groups flap or split under the air, lower the speed or move the dryer farther away.
Pause and look at the lengths before the second pass. The curls should be arranged roughly where you want them to finish. You can now support a few ends in the diffuser if you want a rounder curl. Keep hovering where you like the existing length or where the outer curls are already dry. Think of this as working on individual areas. You might cup the ends on one side and spend the rest of the pass letting air reach damp roots.
Curlsmith on diffuser techniques
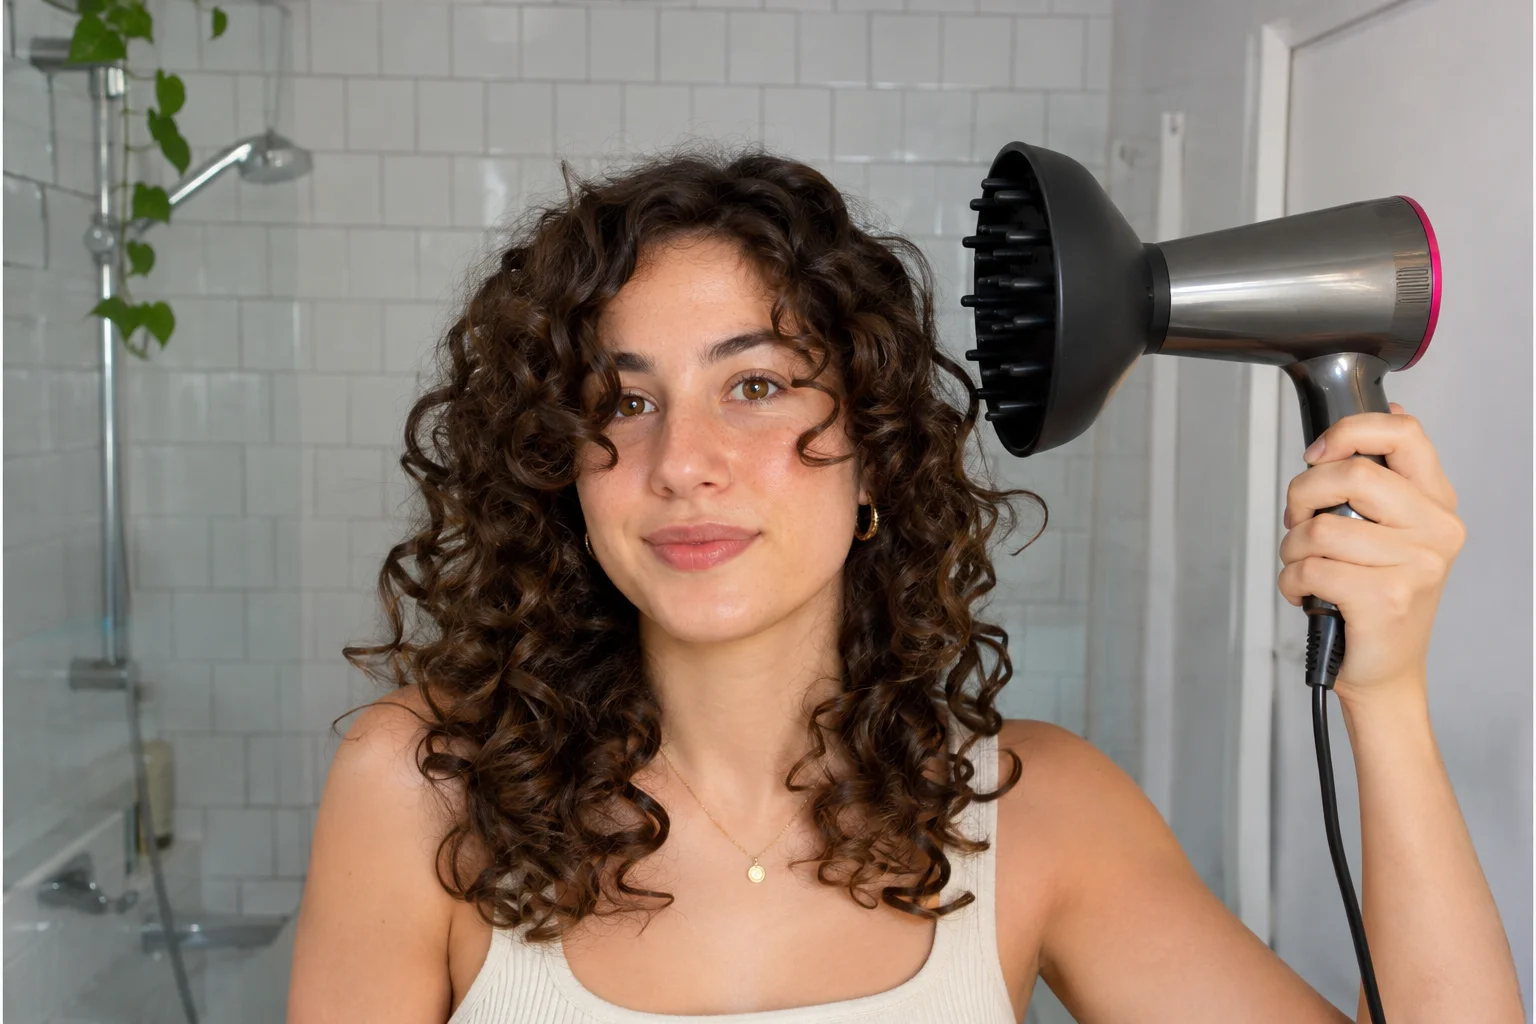
Get the hair ready before switching on
Set your part while the hair is still wet enough for neighboring curls to settle together. If water is running off the ends, gently press those ends with a smooth towel or a soft cotton shirt. Hold the fabric still for a moment and release it. Repeat where it is needed. A few deliberate presses make it easier to keep the curl groups you formed in the shower.
Look at the front in a mirror. Check where the first curl falls near each eye and how the hair parts at the crown. If one group sits across the part, guide it into place while it still moves easily. Decide how you want the front to sit when it is dry. Starting with a clear part also gives you a reference later, when you check whether tilting your head changed the way the front curls sit.
Give the crown and nape their own turn
Hair near the scalp can stay damp where several curls overlap. Use a mirror to see where the surface already looks dry. Turn the dryer off for a moment and gently feel underneath at the crown and behind one ear. Compare those spots with an exposed curl near your cheek. If the roots feel distinctly damp while the outside feels dry, aim the next pass at the scalp area with some space for air to move.
At the back, tip your chin down slightly if that is comfortable. The curls may separate enough to expose the nape. Keep the dryer moving between the two sides. You can also take a short break and let the hair fall naturally before checking again. If the same spot stays wet each time, add it to the beginning of your routine on the next wash day. That gives it a turn while the rest of your hair can tolerate more airflow.
Support a small group of ends in the bowl
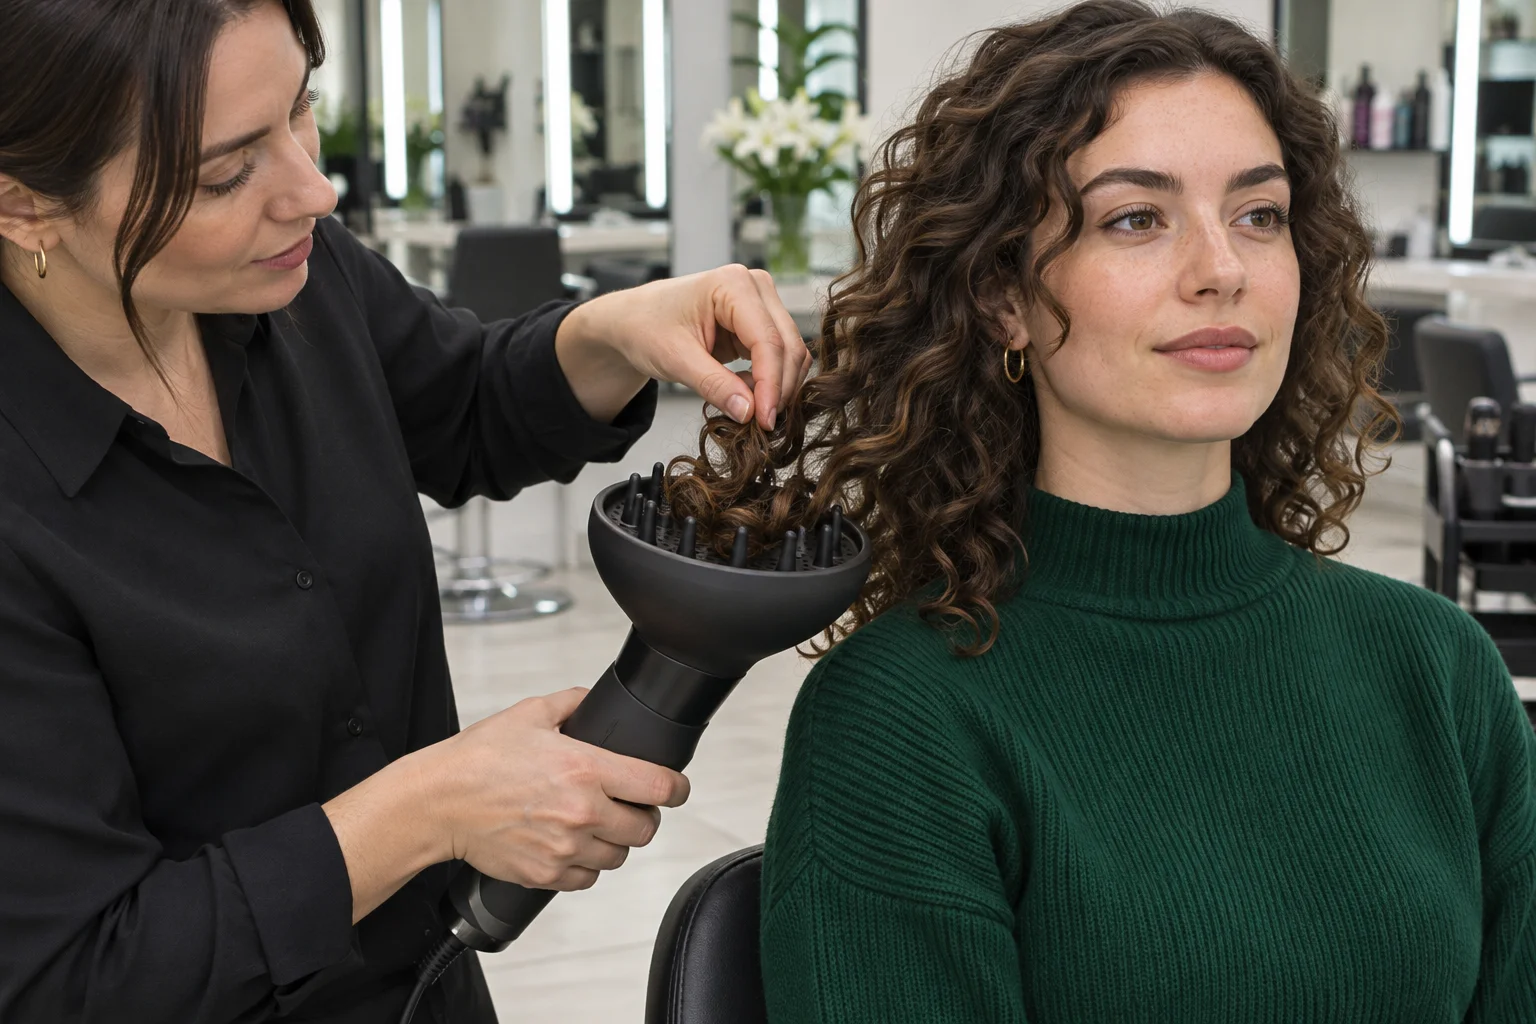
Start with one group you can easily see. Hold the bowl underneath the ends and lift it just enough to take their weight. If moving air scatters the strands on the way in, position the bowl with the dryer switched off and then use a gentle setting. Leave some space around the curls so you can see where they sit. When the group feels warm or the air is uncomfortable, pause and let it cool.
Lower the bowl slowly and see whether the curl has the shape you wanted. If a bend has become too tight for your preference, try supporting less of the length in the next group. On very long hair, you can cup the last few inches and keep the rest hanging. On short hair, there may be only enough length for the tips to touch the bowl. You can still use the hover pass to dry the roots and give them room to move.
Adjust for your part, length and density
For a soft part that stays recognizable, start upright. When you tilt, use a small movement that opens one patch near the root. Return to the middle and let the curls settle before drying the hair around your face. If you want more lift on one side, give the roots there a short pass with the head tilted away. Test the effect with the dryer off before repeating it on the other side.
If dense hair hides a damp area under the top curls, use your fingers to lift a small group just enough to expose that spot. Give the area a brief pass and release the group. With finer hair, spend more time watching how the curls respond to airflow. If you see the ends scatter, move the attachment away first. Take notes about the areas you needed to treat differently. For instance, you may find that the nape needs an early pass but the front needs only a short one.
Find soft volume for your everyday style
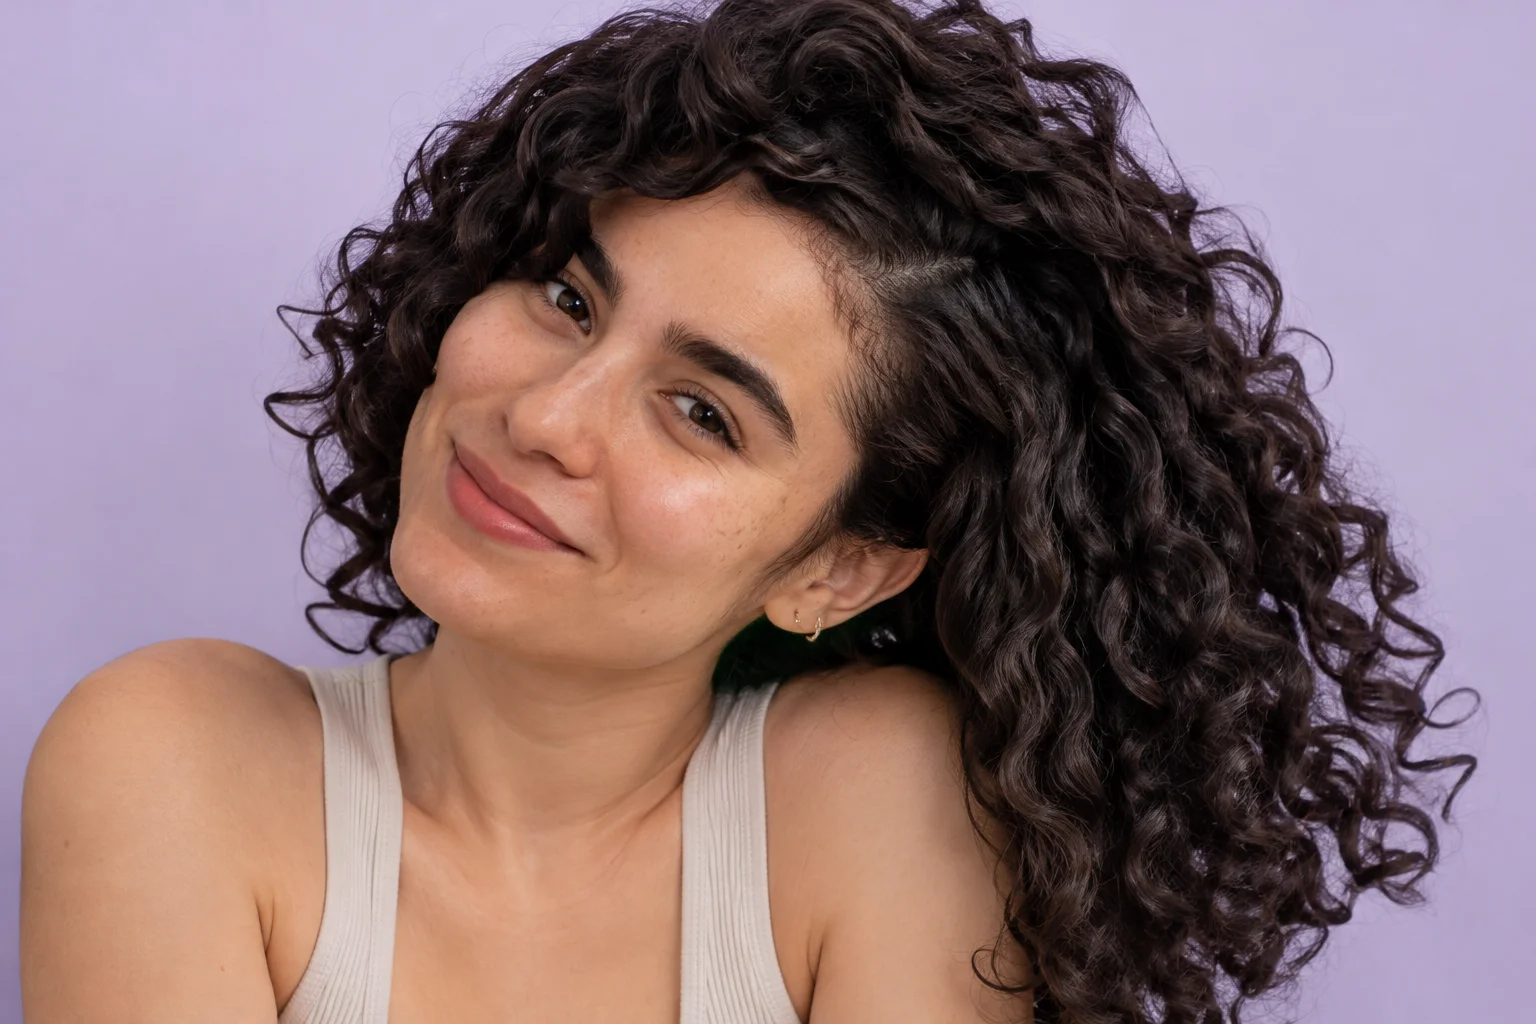
Find the damp spot before your final pass
Turn off the dryer, let the hair cool briefly, and feel three places: underneath the crown, behind an ear and at the nape. Cooling helps you notice the difference between strands that have just been warmed and a spot that still feels damp. If the ends feel dry, leave them hanging while you aim at the area that needs more time. Move around the head with short passes and check again between them.
Once the hair feels dry, decide how much you want to loosen it. You can lift at the roots with fingertips to soften the outline or gently press a stiff dry curl between your palms if you used a product that sets firmly. Start with one small spot and look at the result. The side you like best can become your example for how much to handle the rest.

Make the next wash day easier to repeat
Write down the order that worked in one sentence. For example, “Start at the nape, hover around the crown, cup only the curls by my jaw, then check behind my ears.” Record one spot you would handle differently. If you found damp hair under the crown late in the process, start there next time and leave your dryer settings the same. A single change gives you a clearer way to see what helped.
On days when you have to leave early, set a priority before starting. If the hair underneath tends to stay damp, give that area its turn and let the visible curls continue to dry while you get ready. If the front tends to dry unevenly, arrange and dry those curl groups first. A predictable order can make a short session feel more useful than rushing through every area at the same speed.
Read the difference between the two sides
Pick two comparable curl groups beside the face. Hover around one side and use the bowl briefly on the ends of the other. After both are dry and cool, look straight ahead and then turn sideways. Notice where each curl ends, how wide it looks and whether its shape changes when you move. If one side naturally springs up more, try the reverse on the next wash day before deciding that the technique caused the difference.
For a quick record, take pictures from the same place and with the same part. Pay attention to the shape you can live with on an ordinary morning. If the cupped side looks good but takes longer to arrange, you can save that step for the curls nearest your face. The rest of the hair can dry with the simpler pass.
Questions
Can I hover for the whole drying session?
Yes, if you like how the curls hang and the air reaches your roots. Change your position to give hidden patches a turn, and pause to check underneath. The diffuser bowl is useful when you specifically want to support the ends.
What do I do if the front gets fluffy first?
Try a lower speed or a larger gap near the front, then let the curl groups settle before moving the attachment again. On your next wash day, arrange the front while it is still wet and let it stay in place for the first pass.
Does flipping my head upside down help?
It can give air access to the underside. You can also tilt to one side if you want to keep the part near its usual position or if a full flip feels awkward. Check where the front curls fall once your head is upright.
How do I know whether the nape needs more drying?
Turn off the dryer and let the hair cool for a moment. Feel at the roots beneath the outer curls. If that area is still damp, give it a short pass while leaving the dry ends alone.